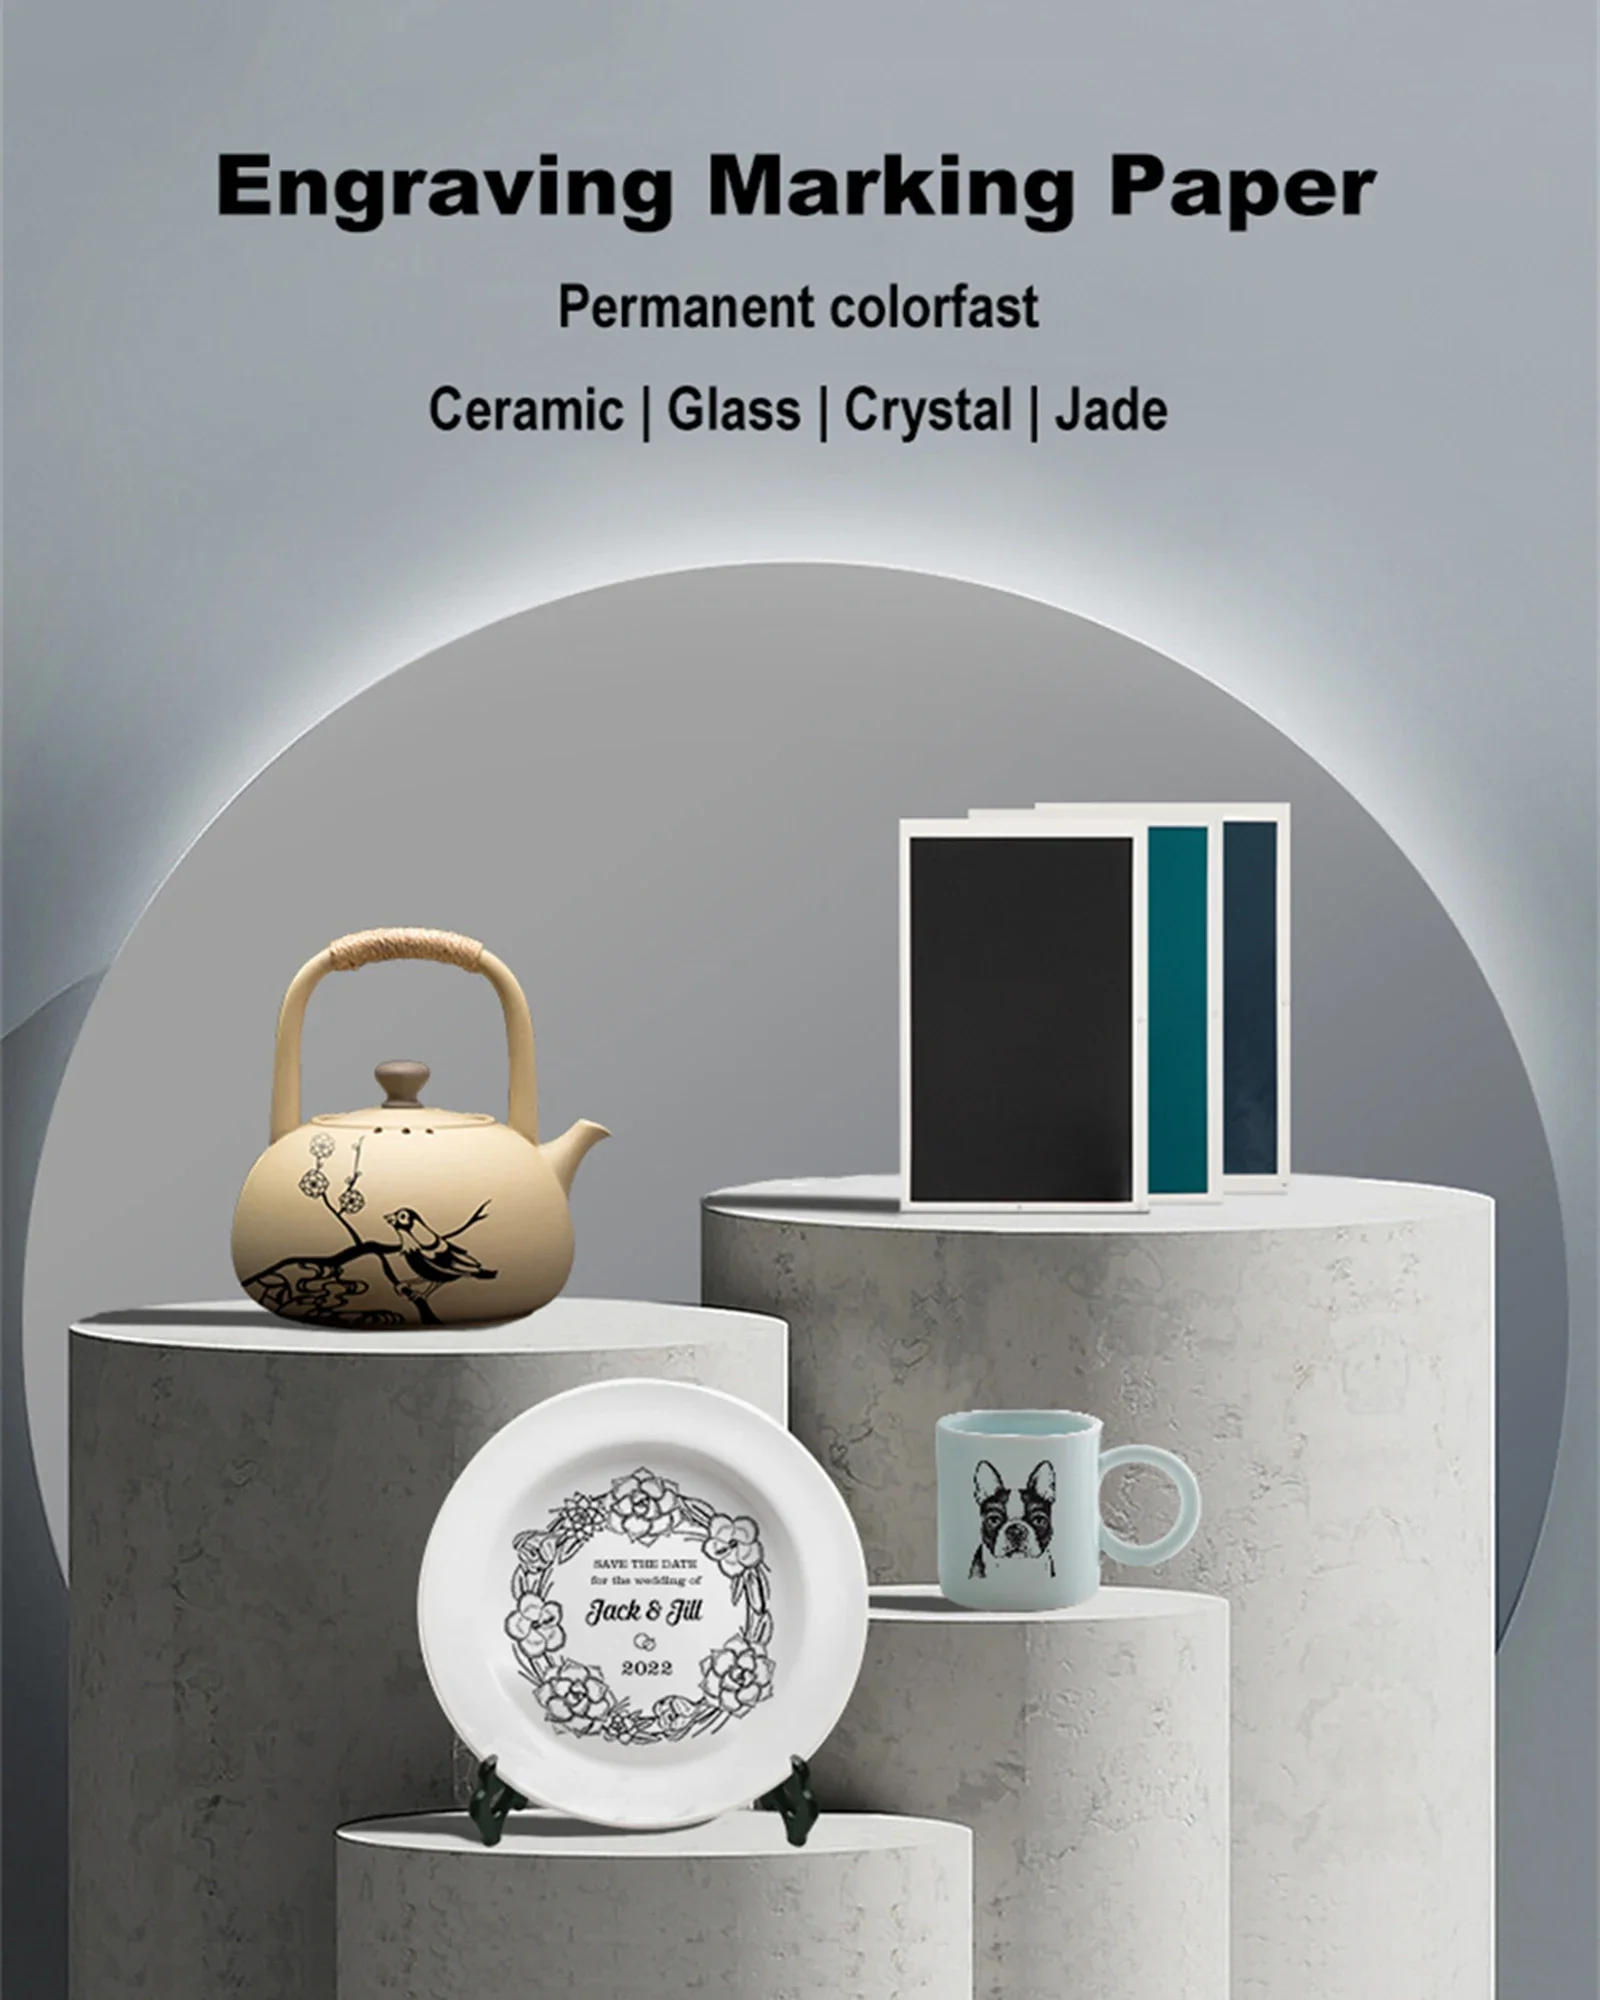
Engraving Marking Paper for TwoTrees TTS-55 Pro DAJA DJ6 Mini Portable Laser Engraver Diy Machine Used on Glass Ceramic Tiles
Attation please, it cannot be used on any metal surface, like aluminum, stainless steel, iron etc.
Coloring Principle
The laser penetrates the color on the engraving marking paper into the object through the thermal effect, thus making it successfully colored. And the laser color marking paper is made of premium material, that is insoluble in water, anti-corrosion, non-fading, and anti-scratch, so the patterns can firmly bond to the surface of the objects.
About Settings
Because different lasers, different power, diffferent speed,different materials even different color paper require different parameter settings, we can't give users specific parameter values. Users need to adjust the parameters through testing to get good engraving results.
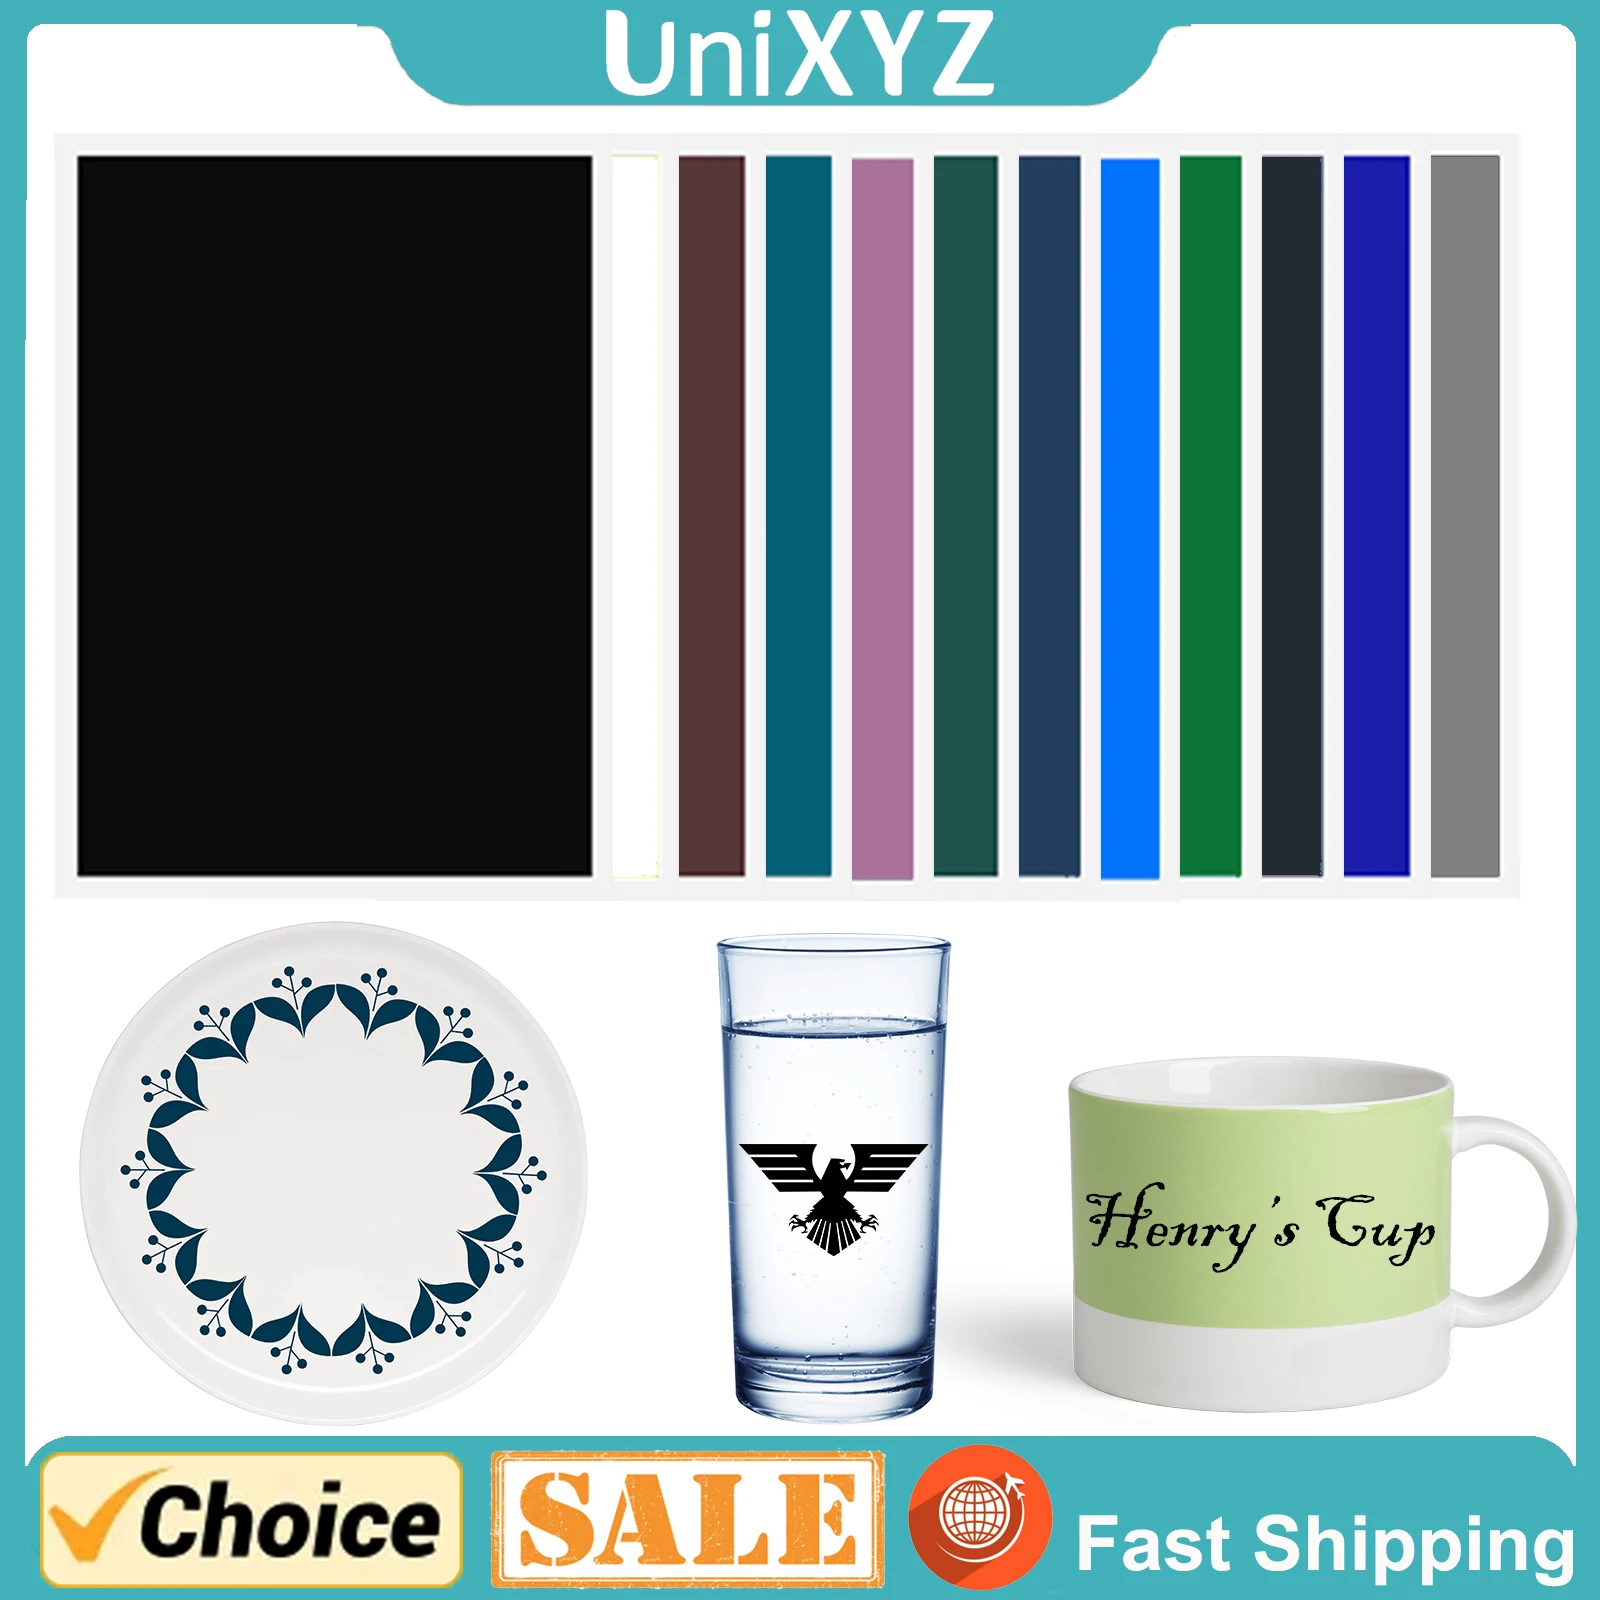
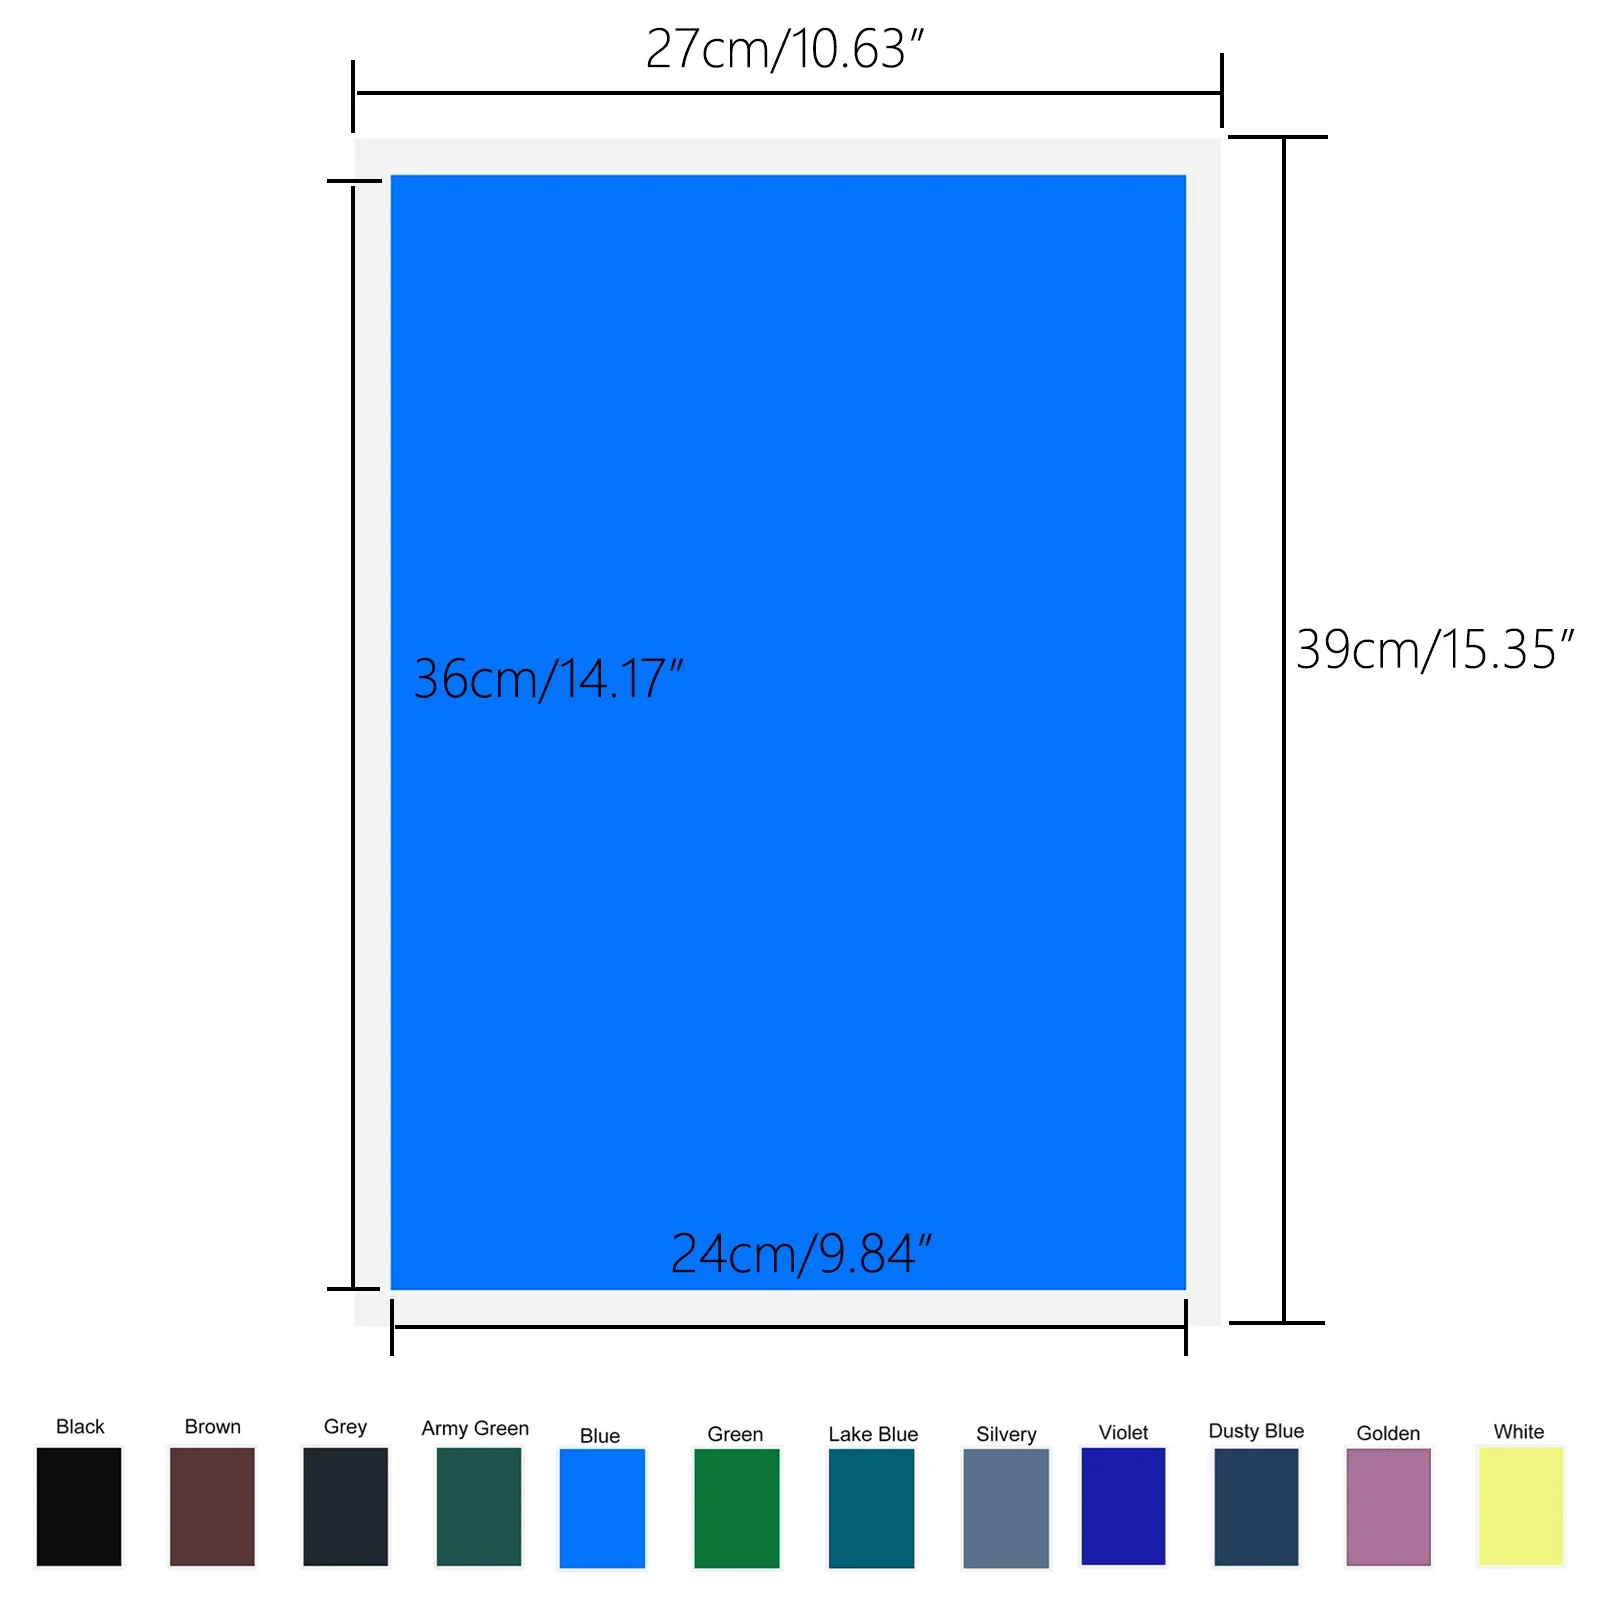
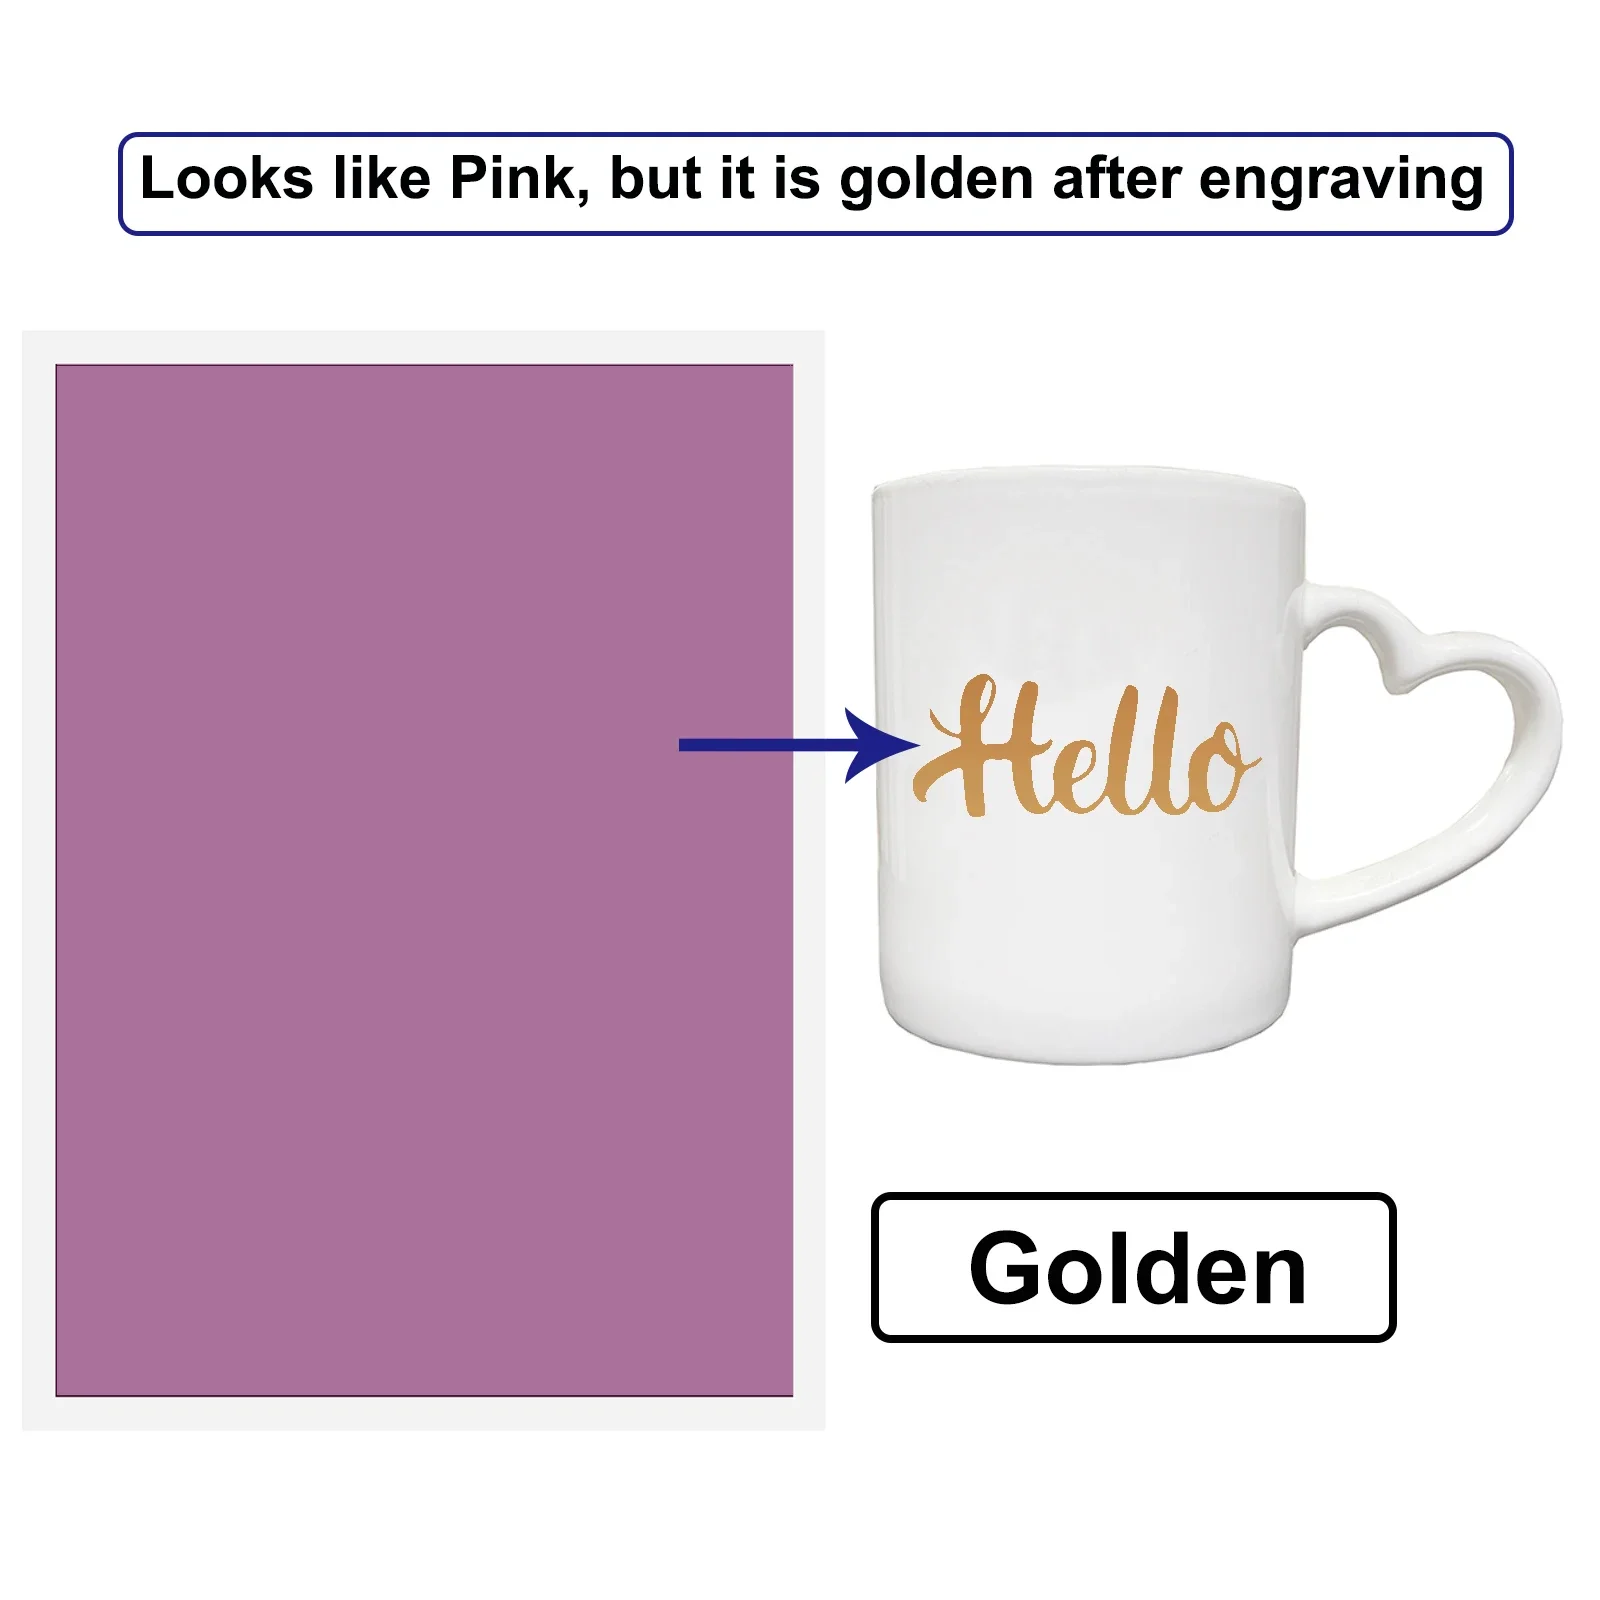
About Colors
Some colors may be changed after laser engraving, so the paper color looks like different from the true color, we will remark ture color on the back, please subject to marked color.
About Quality
All colored carved papers will be well packed, but due to long time international shipment, some slight creases or air lines may cuased, please do not worry, it is not quality issue, and won't affect the engraving.
Custom Size
With big size, you can cut size as you need.
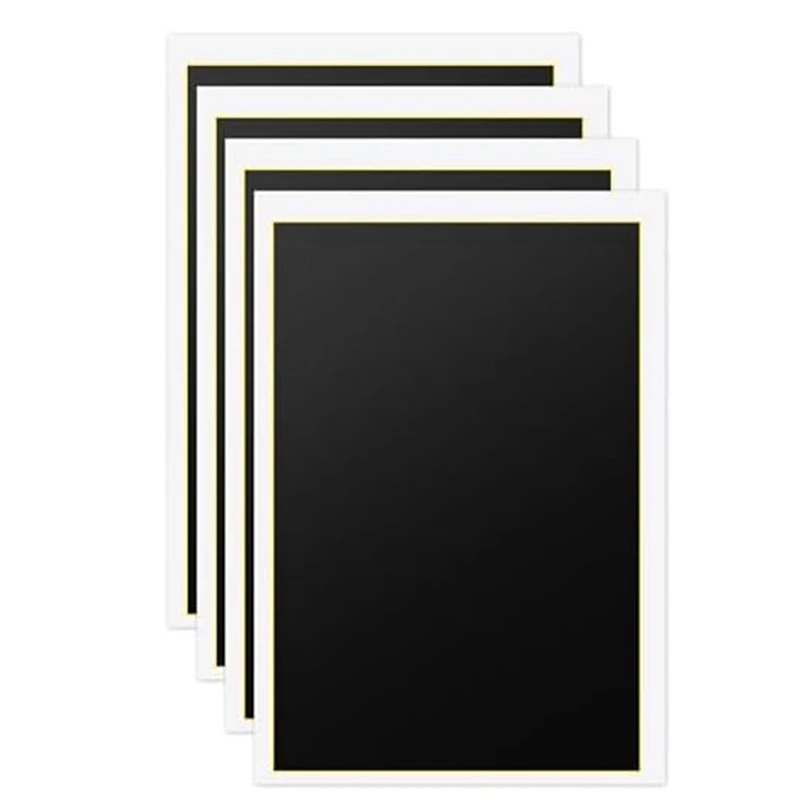
Backing paper : 39cm x 27cm(15.35" x 10.63")
Colored paper: 36cm x 24cm (14.17" x 9.84")
How to Use
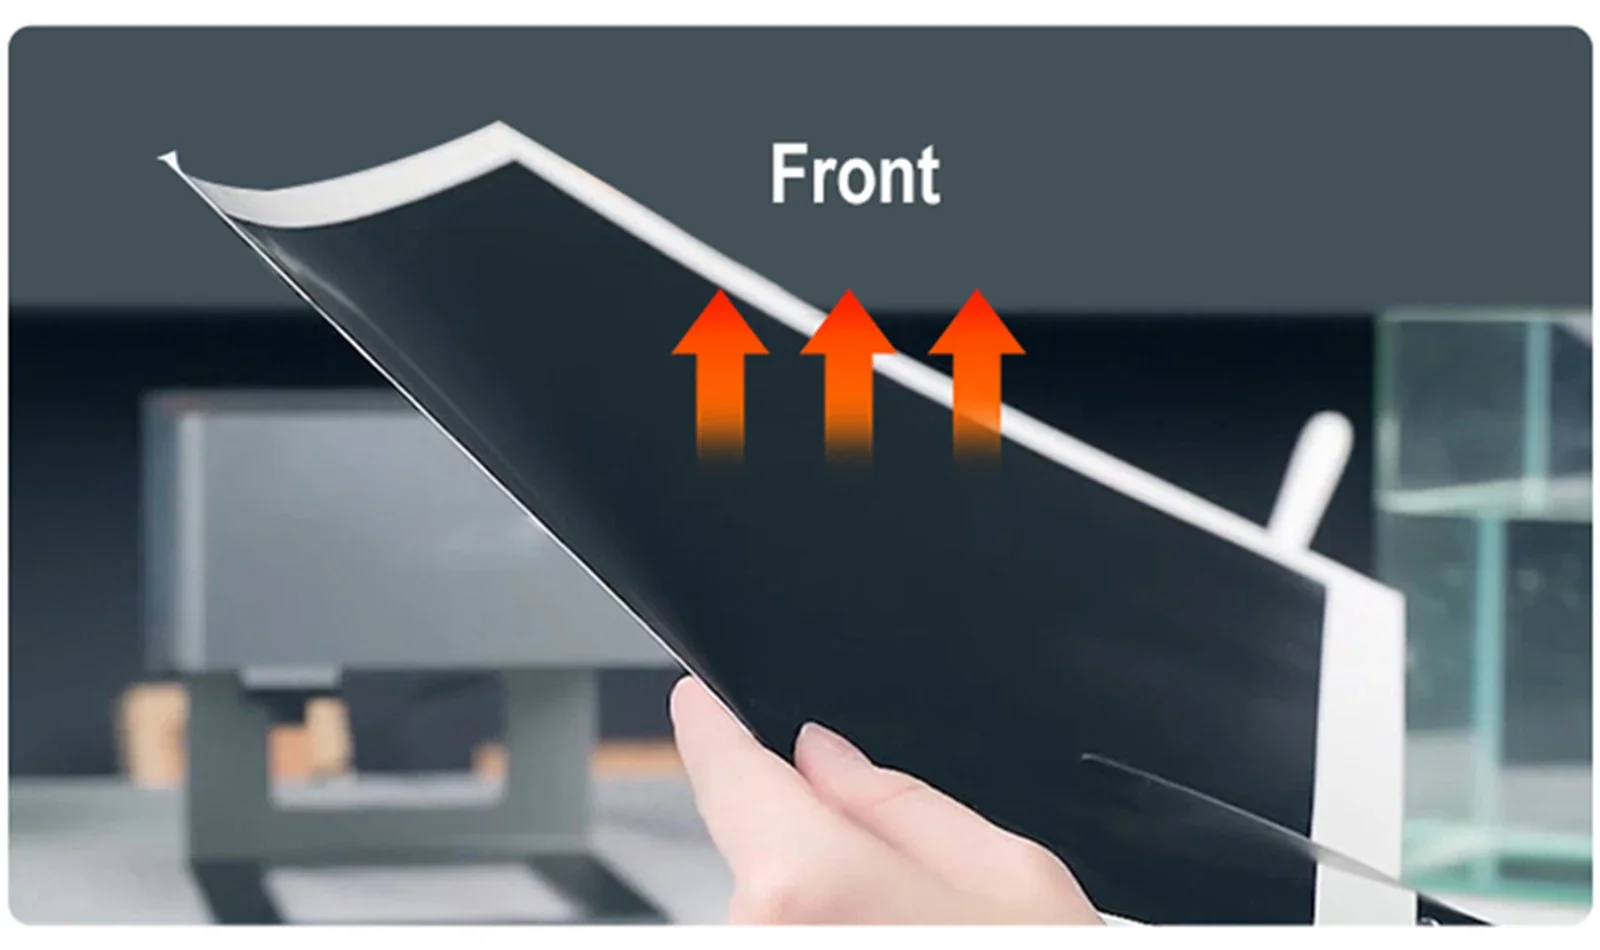
Step 1:Dstinguish the Front Side
The color upward for the front, when sticked need to keep the front upward.
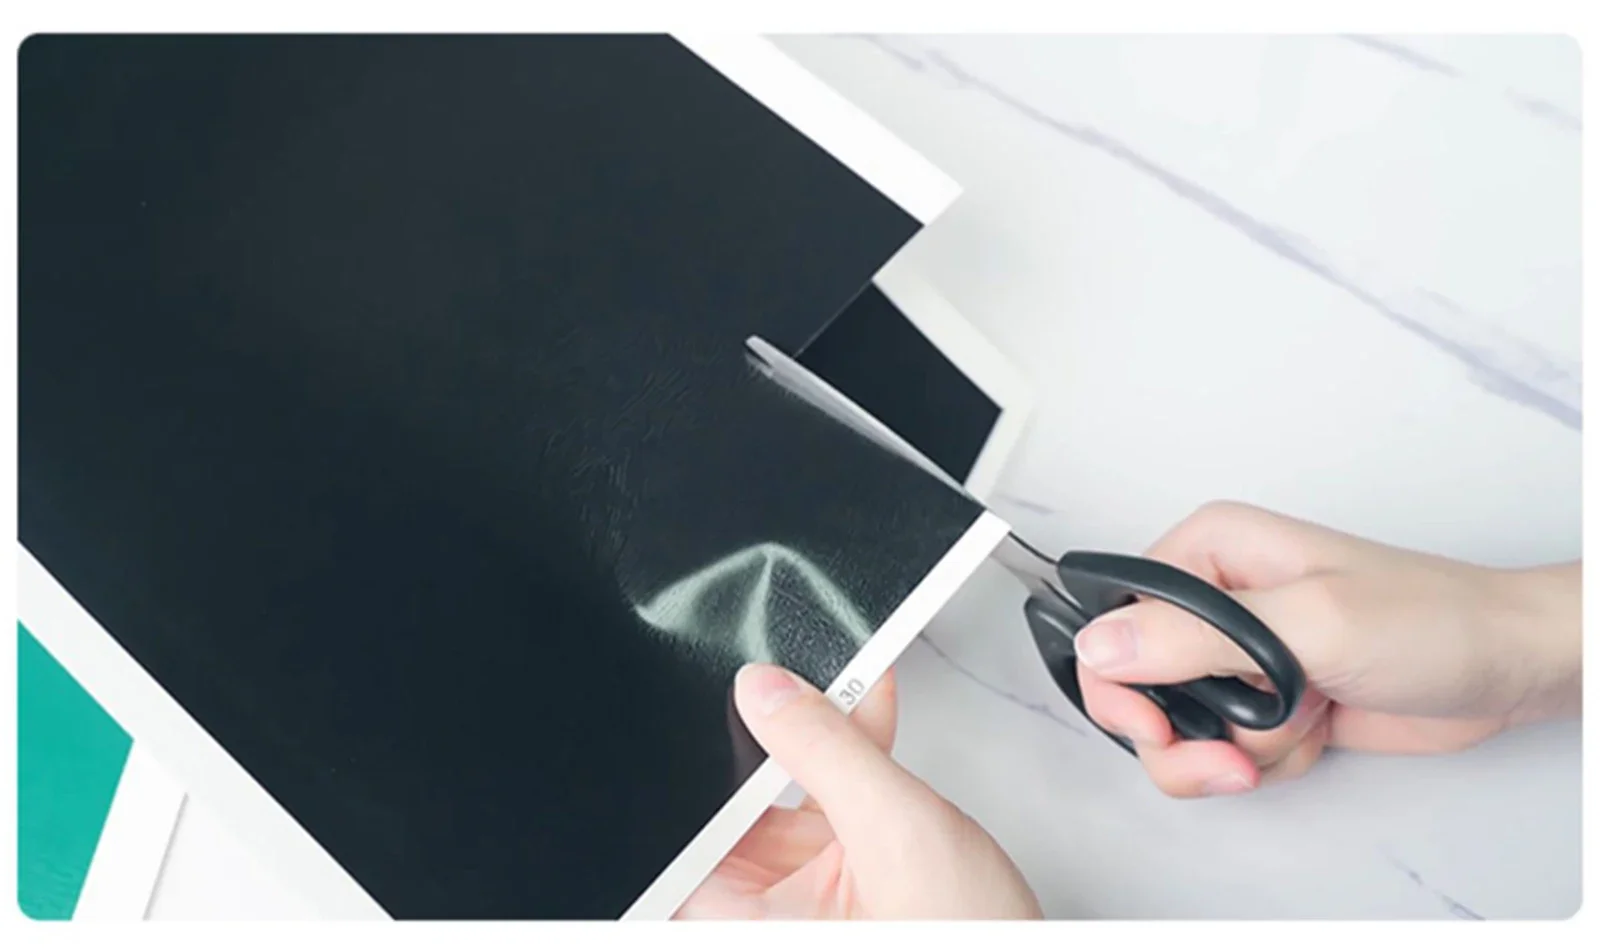
Step 2:Cutting Color Paper
Cut the right size according to the content of the engraving.
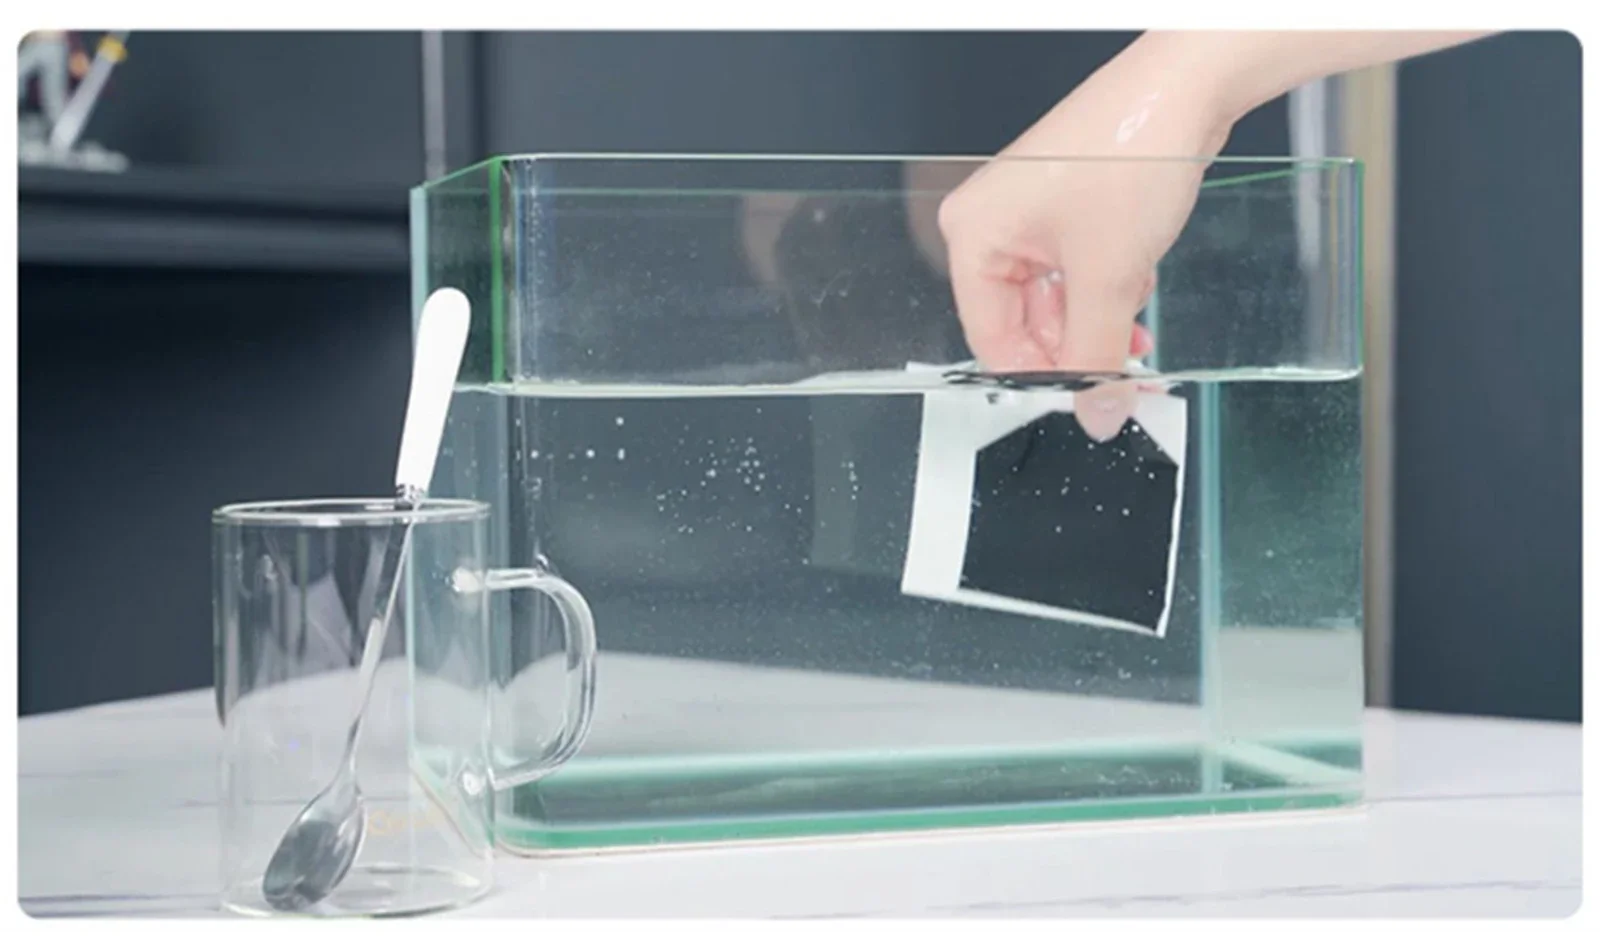
Step 3: Soaking Color Paper
Put the cut color paper into water and wet it for 1-2 minutes. Peel the colored paper from the backing after soaking.
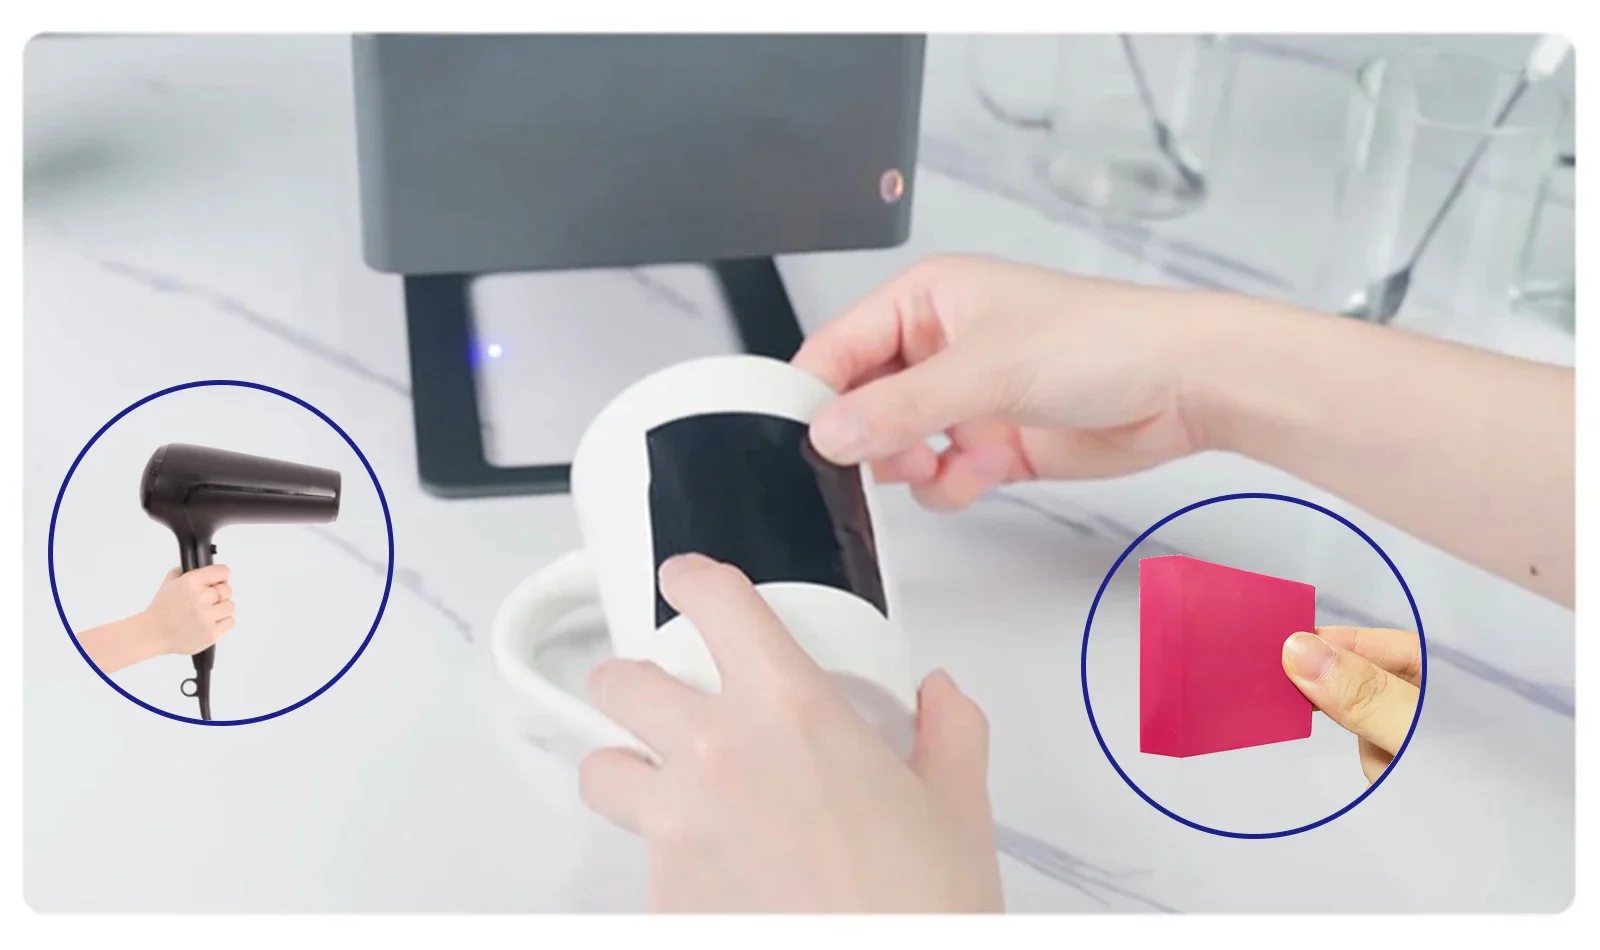
Step 4: Stick on the Object
Please keep the front upward and use a scraper to remove air bubbles and creases. It is necessory to buy a scraper together. Please dry the colored paper with hair dryer before engraving.
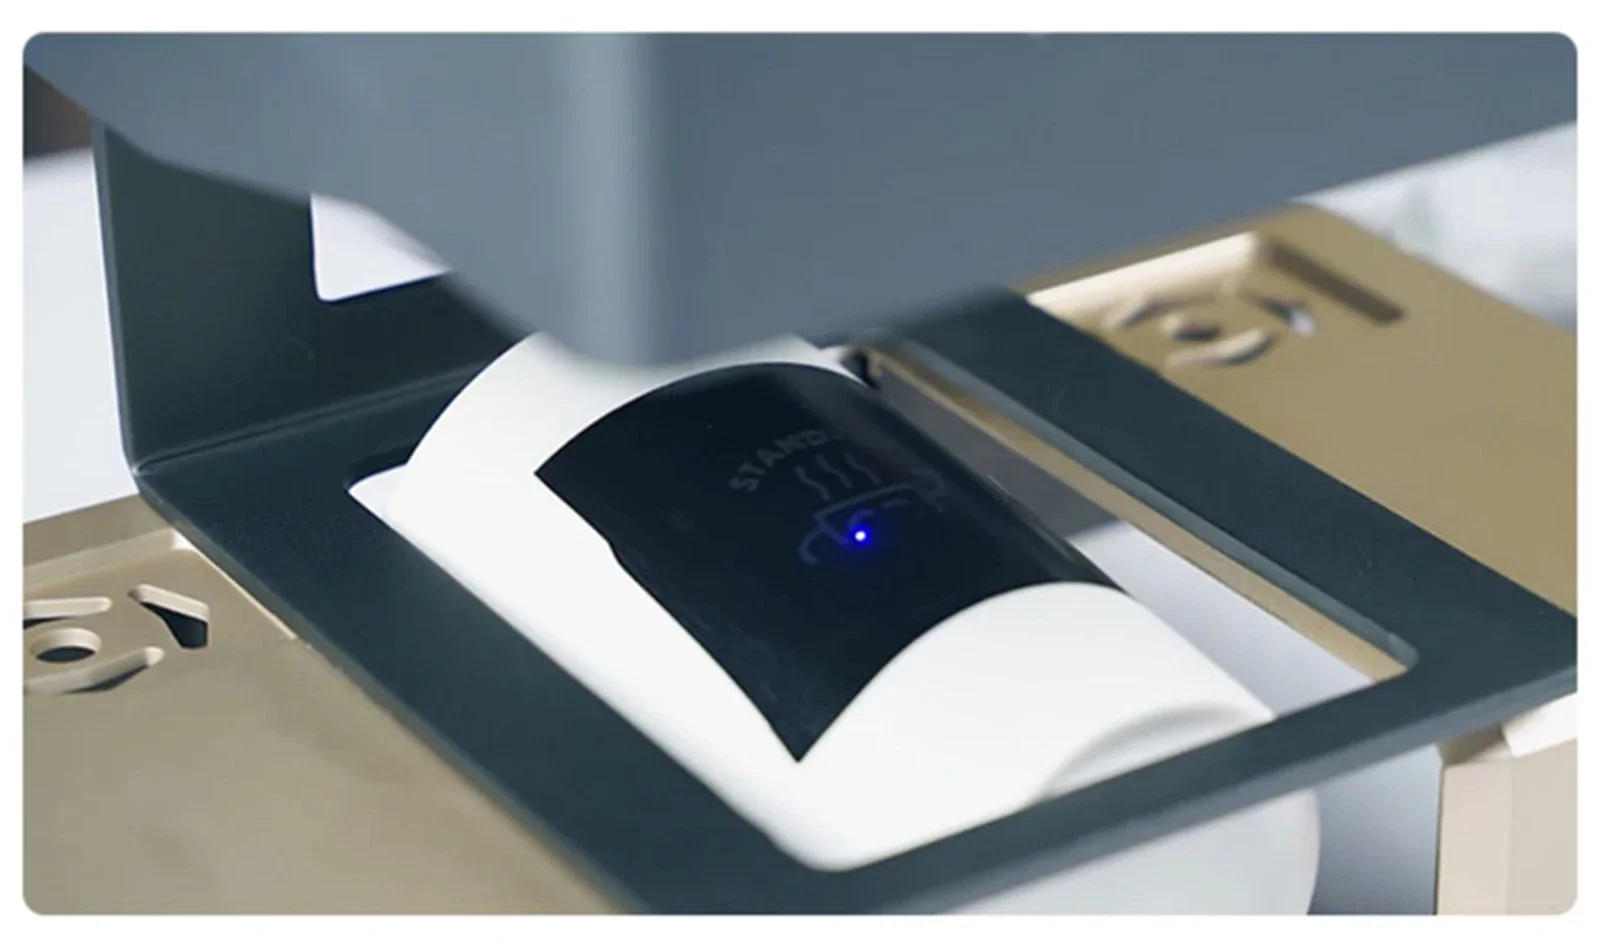
Step 5: Prepare to Engrave
Place the object on the engraving machine and select the engraving pattern. Pay attention to the direction of the pattern, you may need to flip the pattern if engrave it horizonltally.
Step 6: Start Engraving
Waiting for the engraving process to be completed.
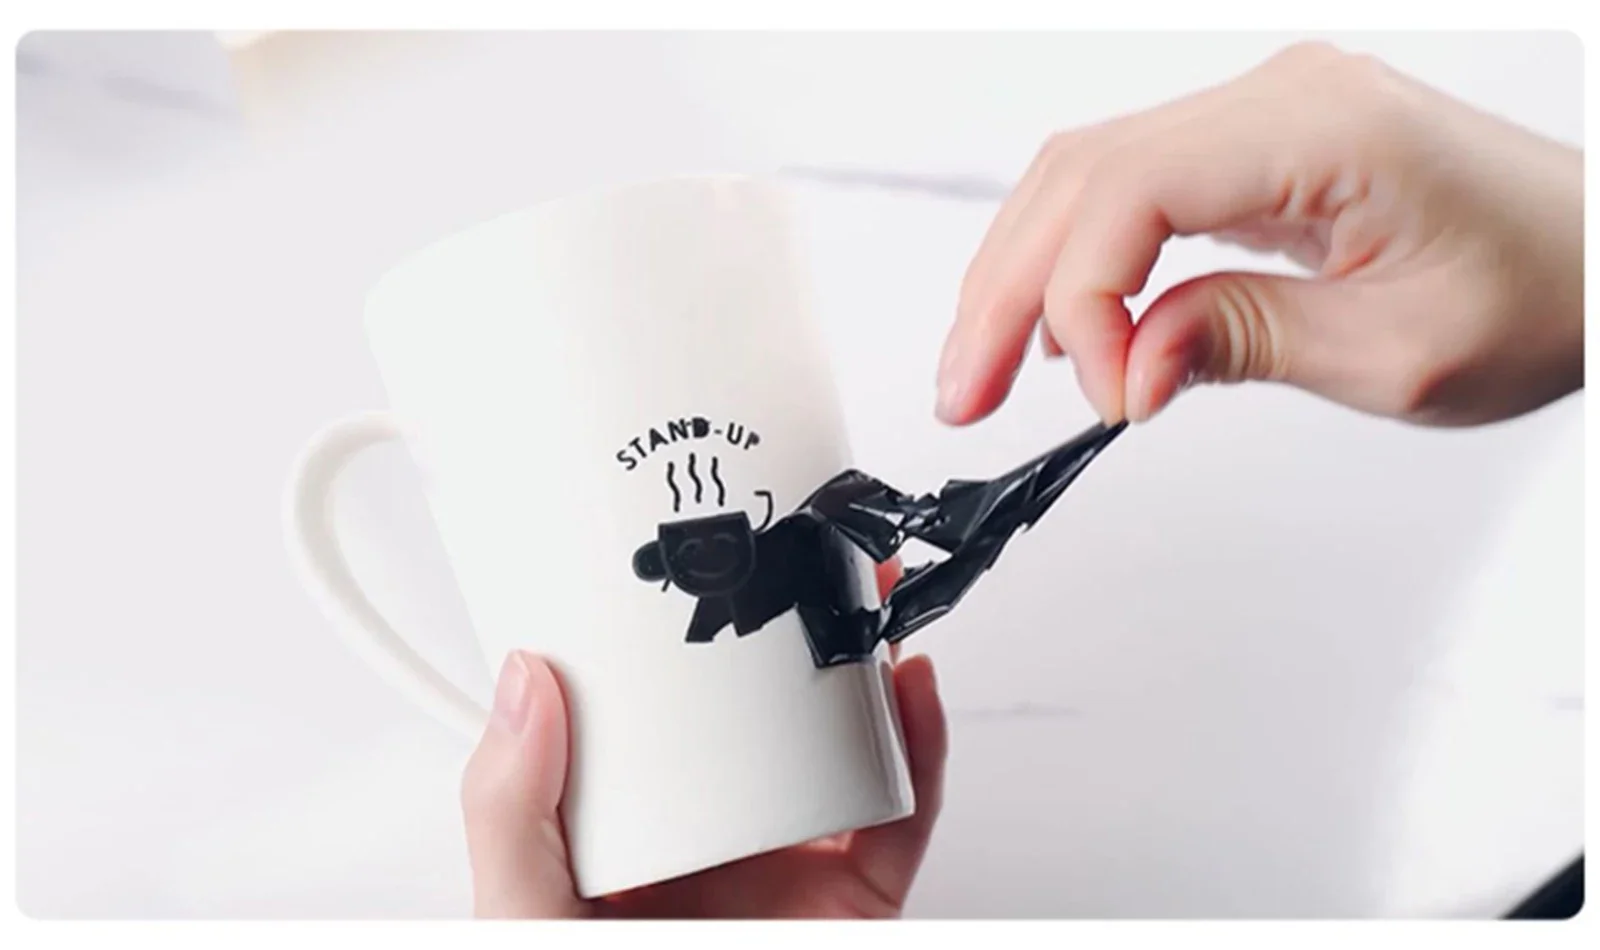
Step 7: Soaking Color Paper
Soak in water for 5 minutes after the engraving is completed. Full soaking helps to peel off excess colored paper easily.
Step 8: Remove Excess Color Paper
Take out the soaked object and remove the excess color paper patiently.
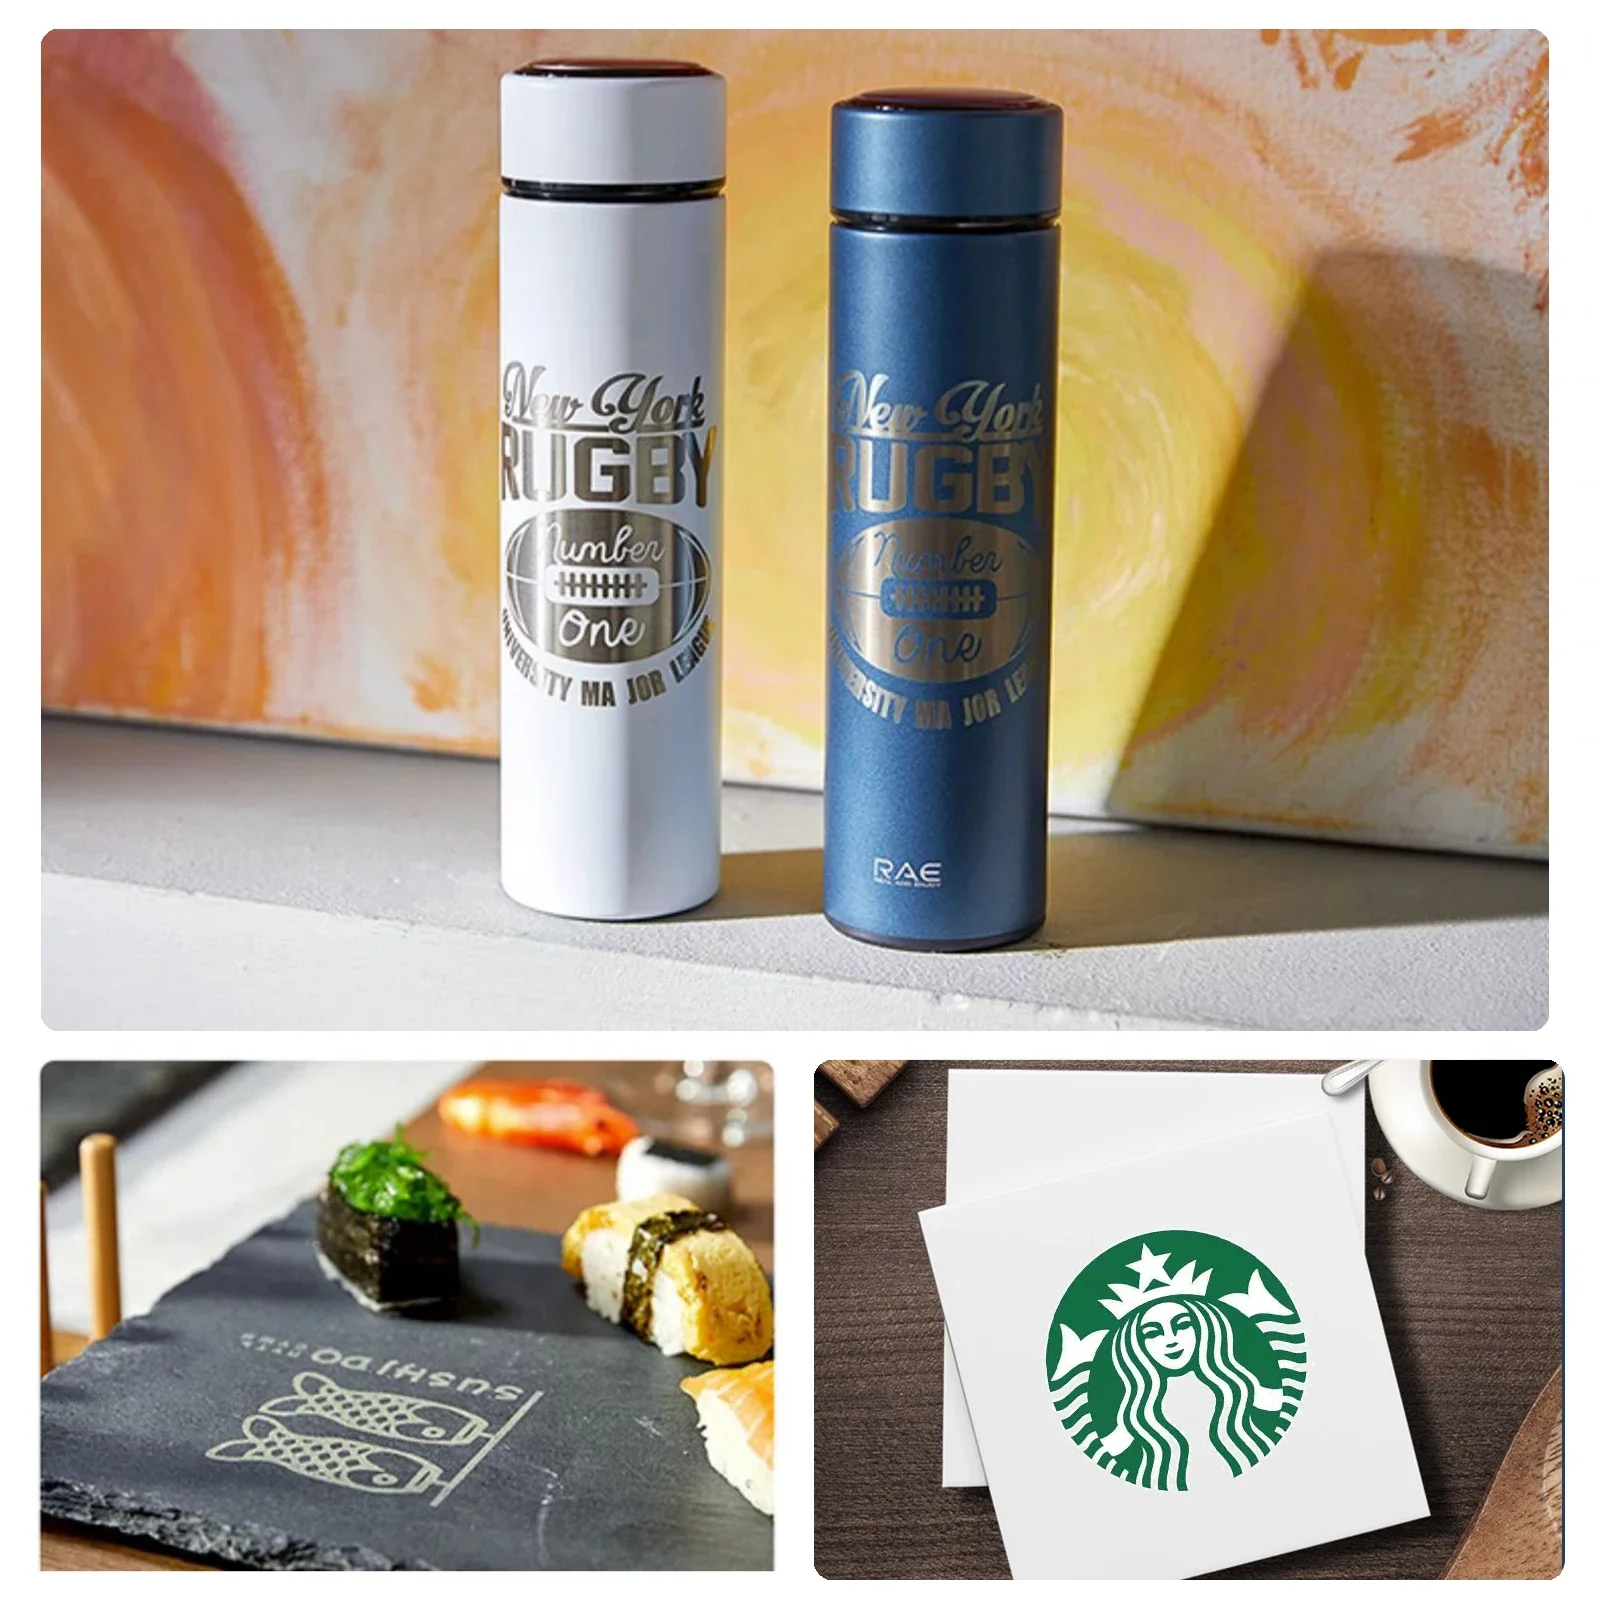
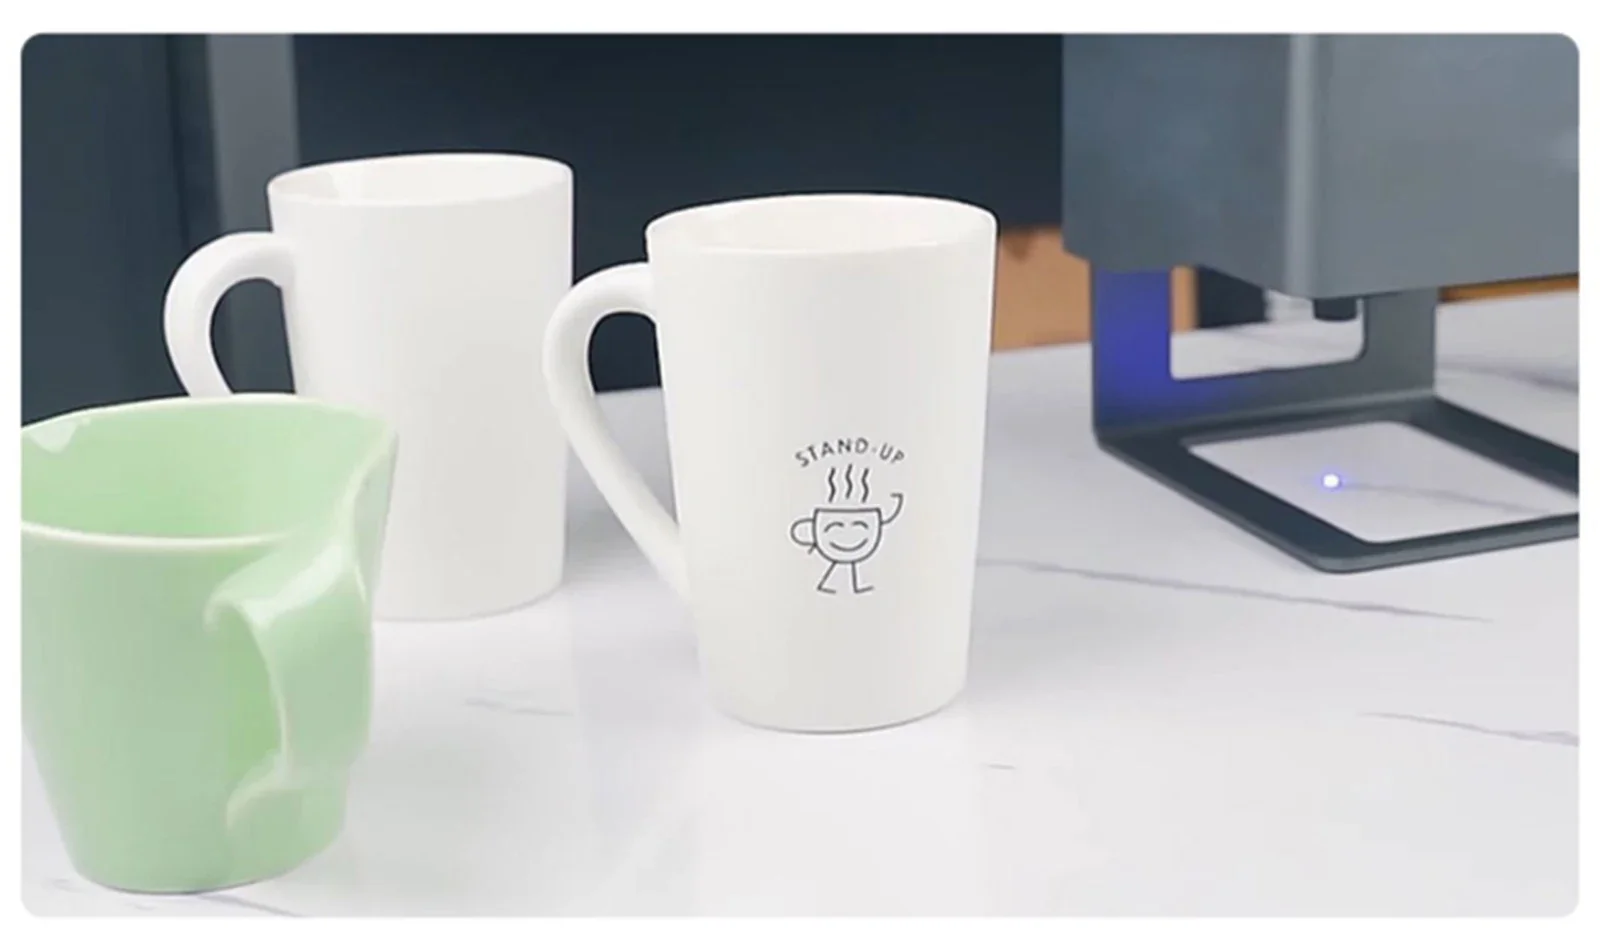
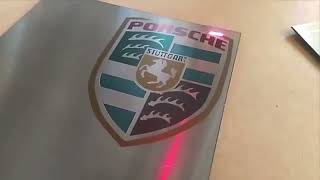
Step 9 : Product Display
DIY as you like.
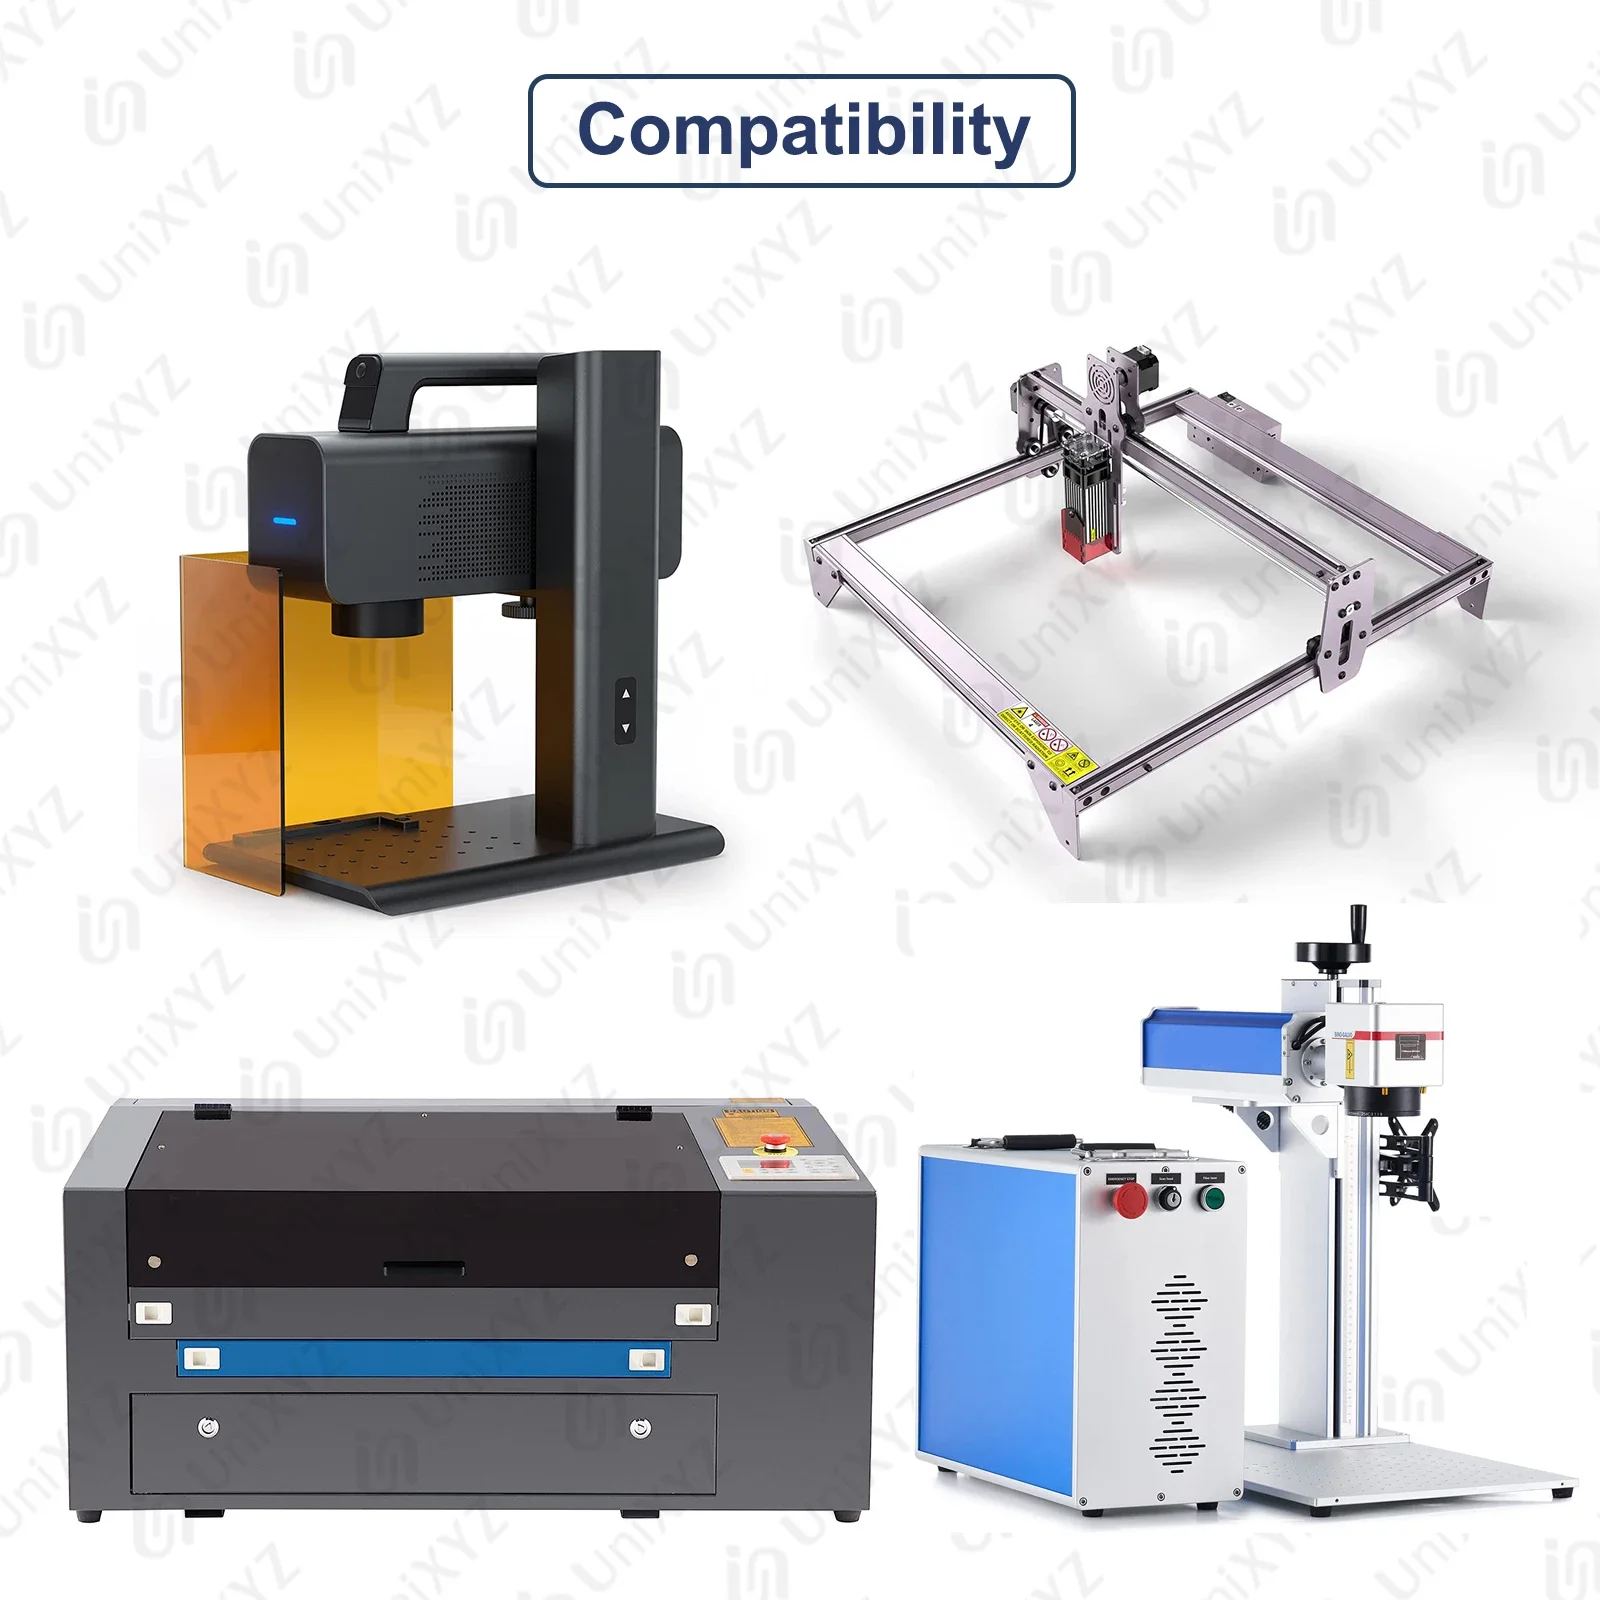
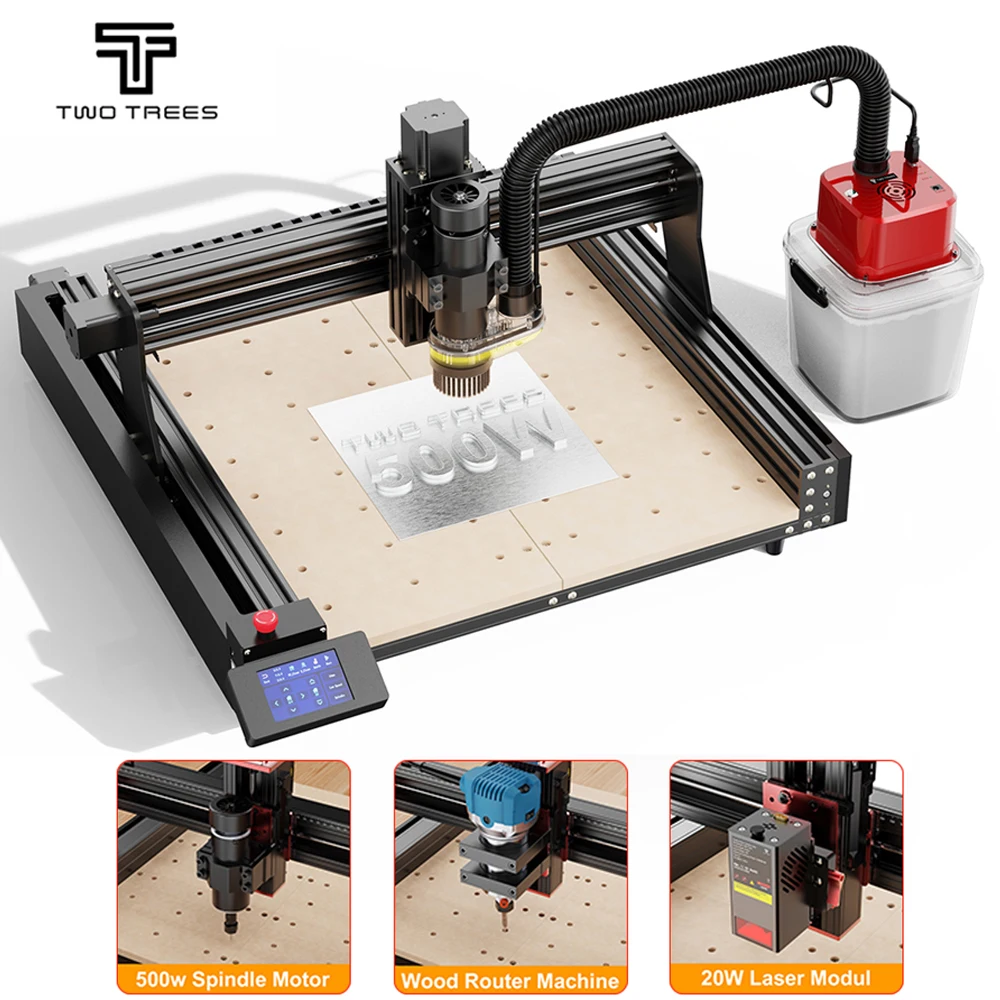
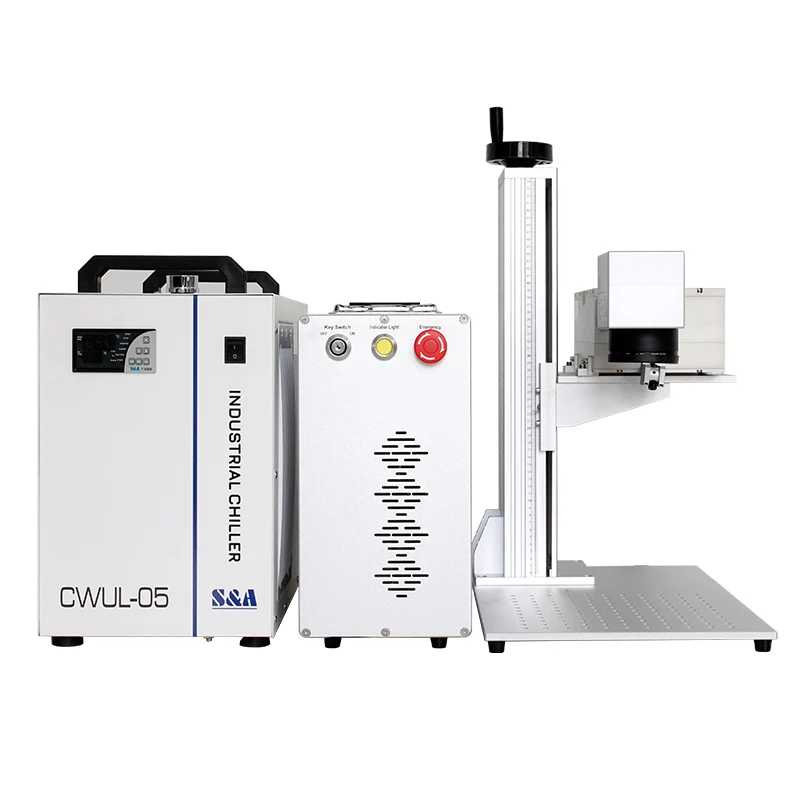
Compatibility
Compatible with almost of laser engravers, like
CO2 Laser Engraver Machine
Fiber Laser Engraver Machine
UV Laser Marking Machine
Product Display
Could be used on ceramics glass crystal stone tiles only, not suitable for other materials like leather, aluminum, stainless steel, iron etc.