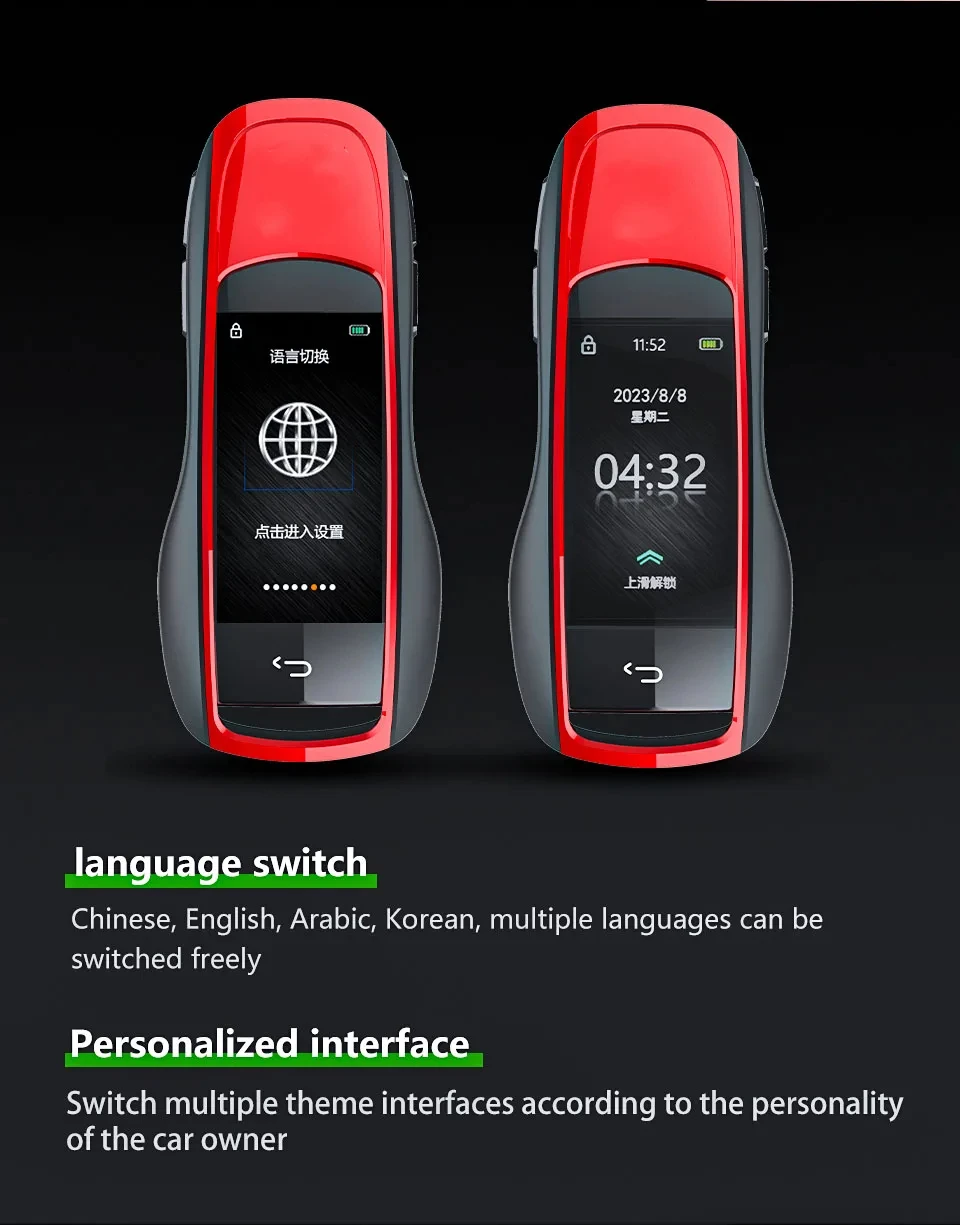
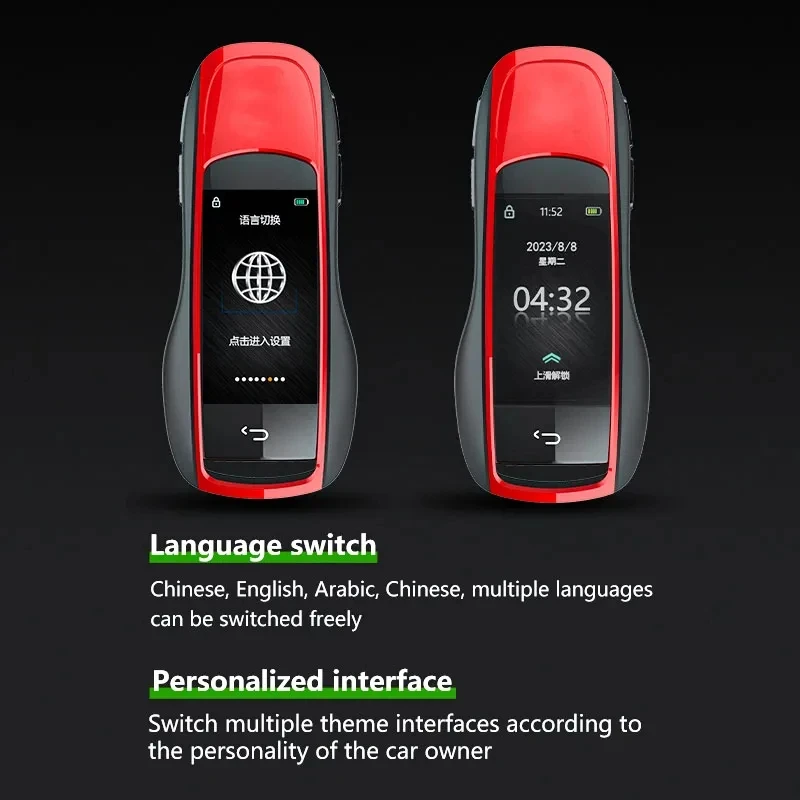
Support Languages:
Chinese English Korean Spanish French Arabic Russian
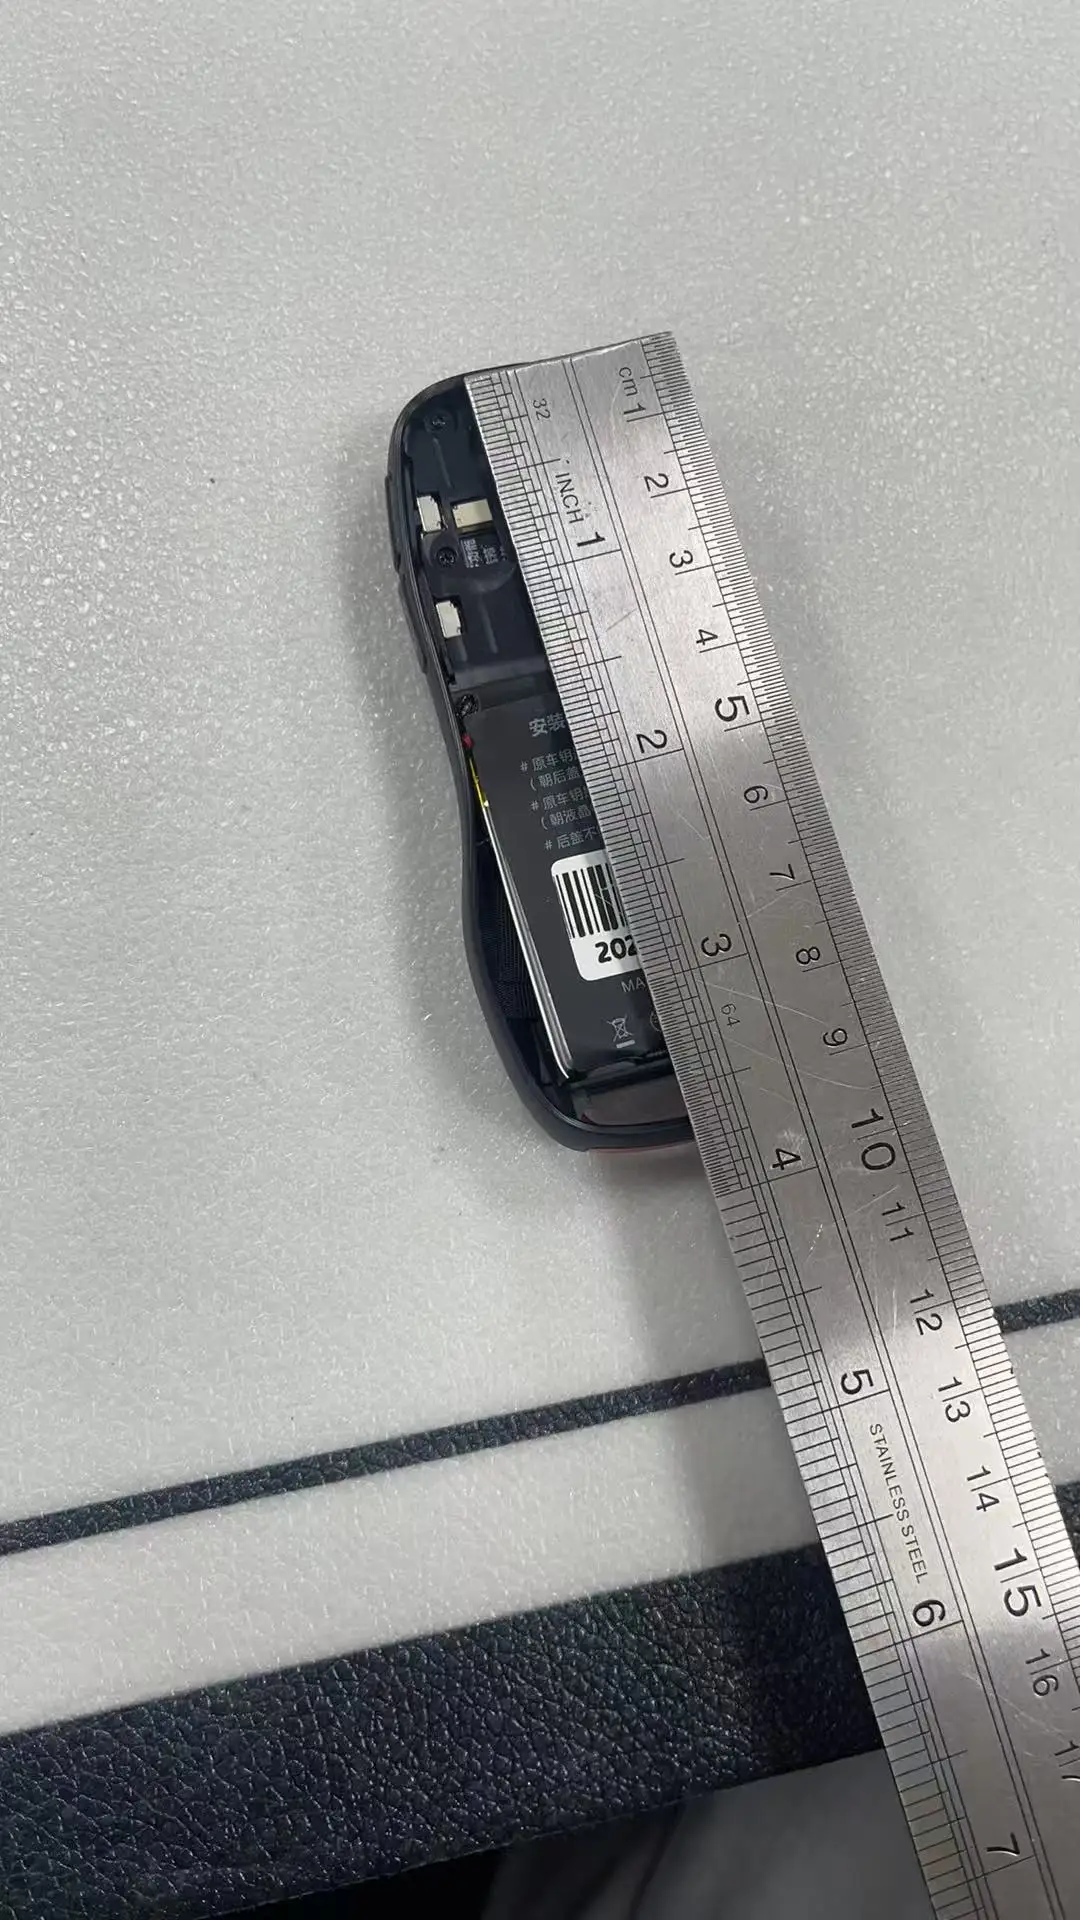
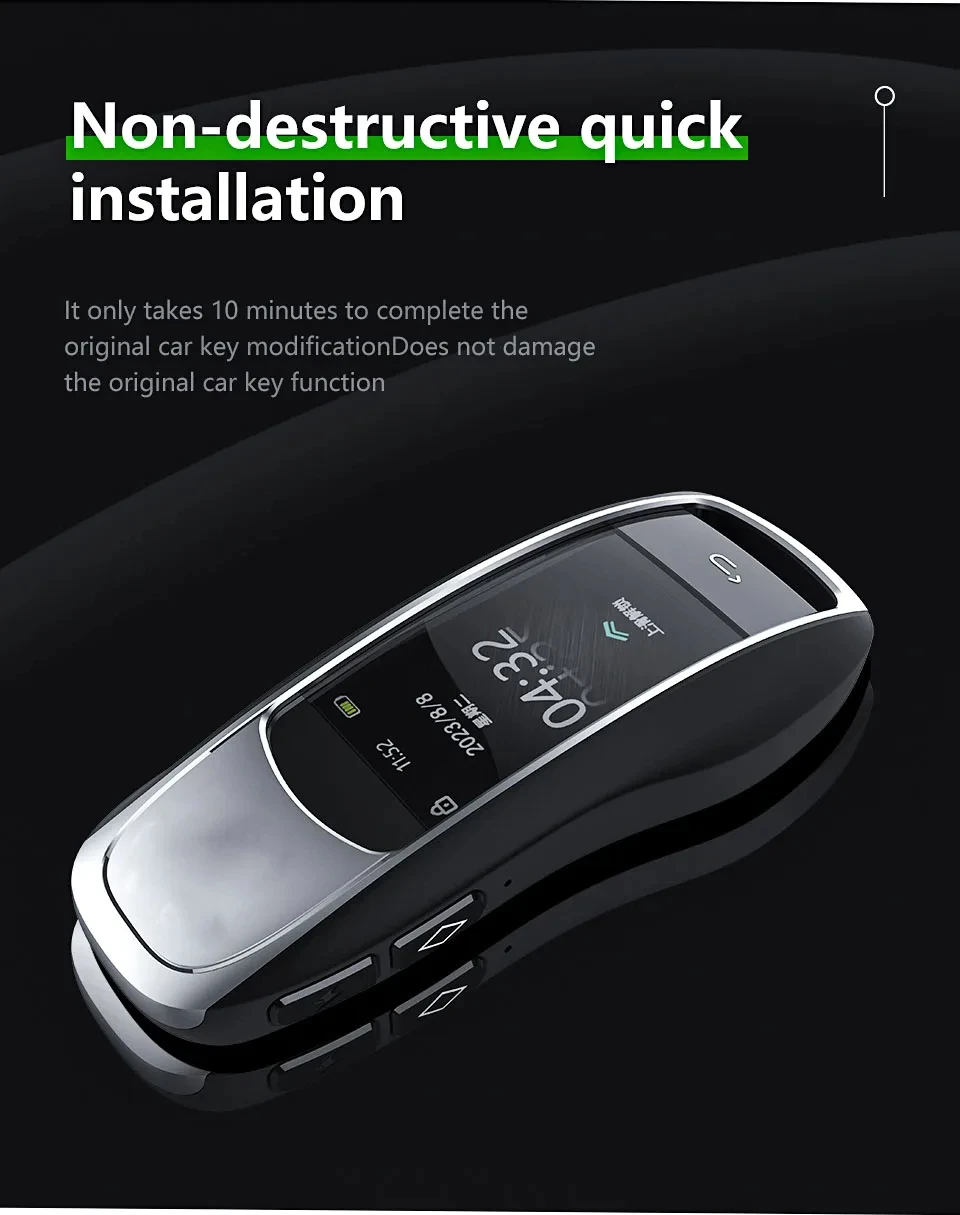
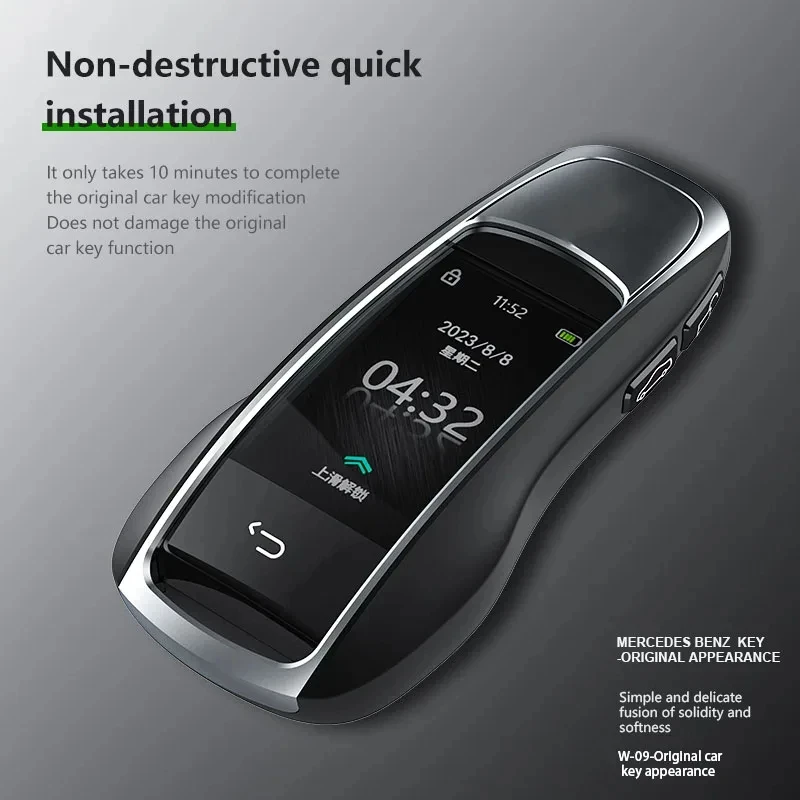
Installation:Solder the original key circuit board to the LCD key. (Refer to the manual for details)
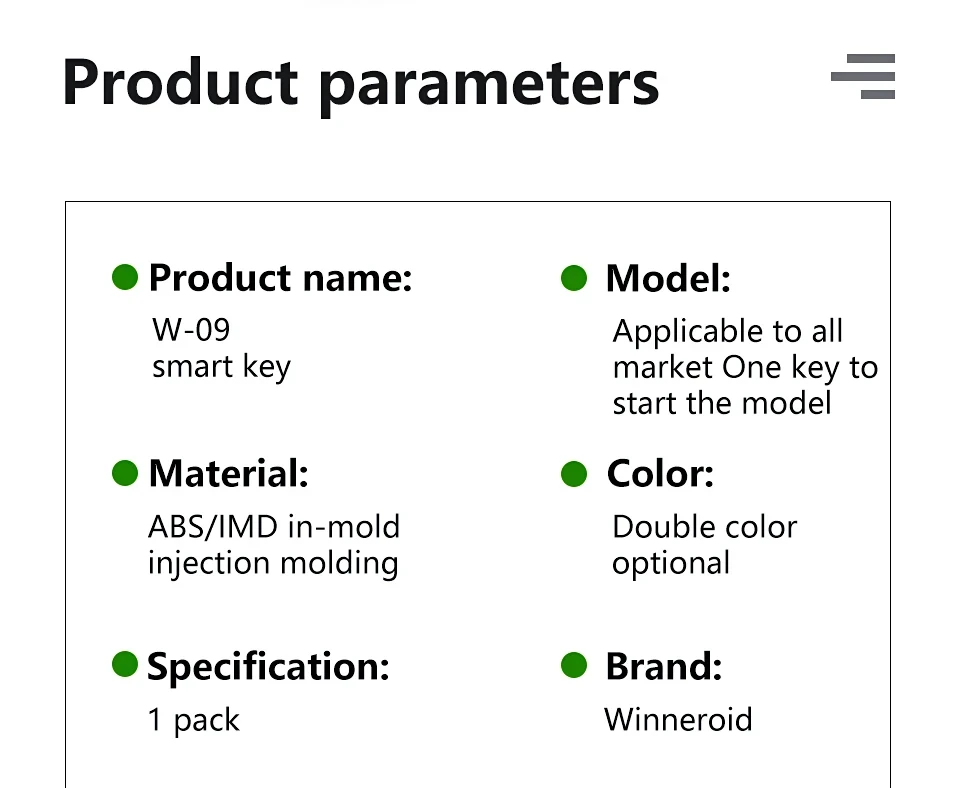
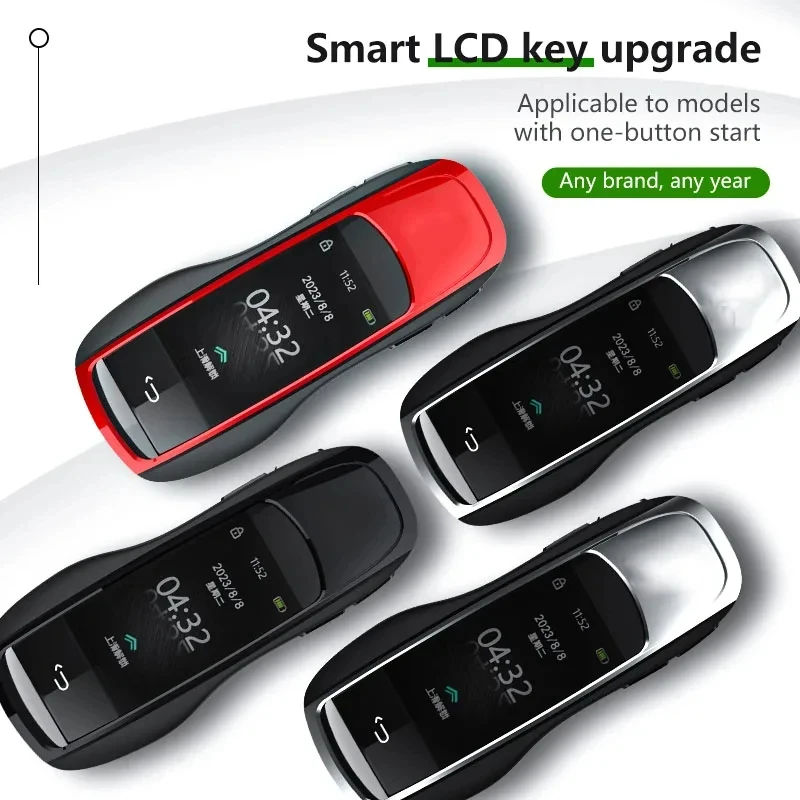
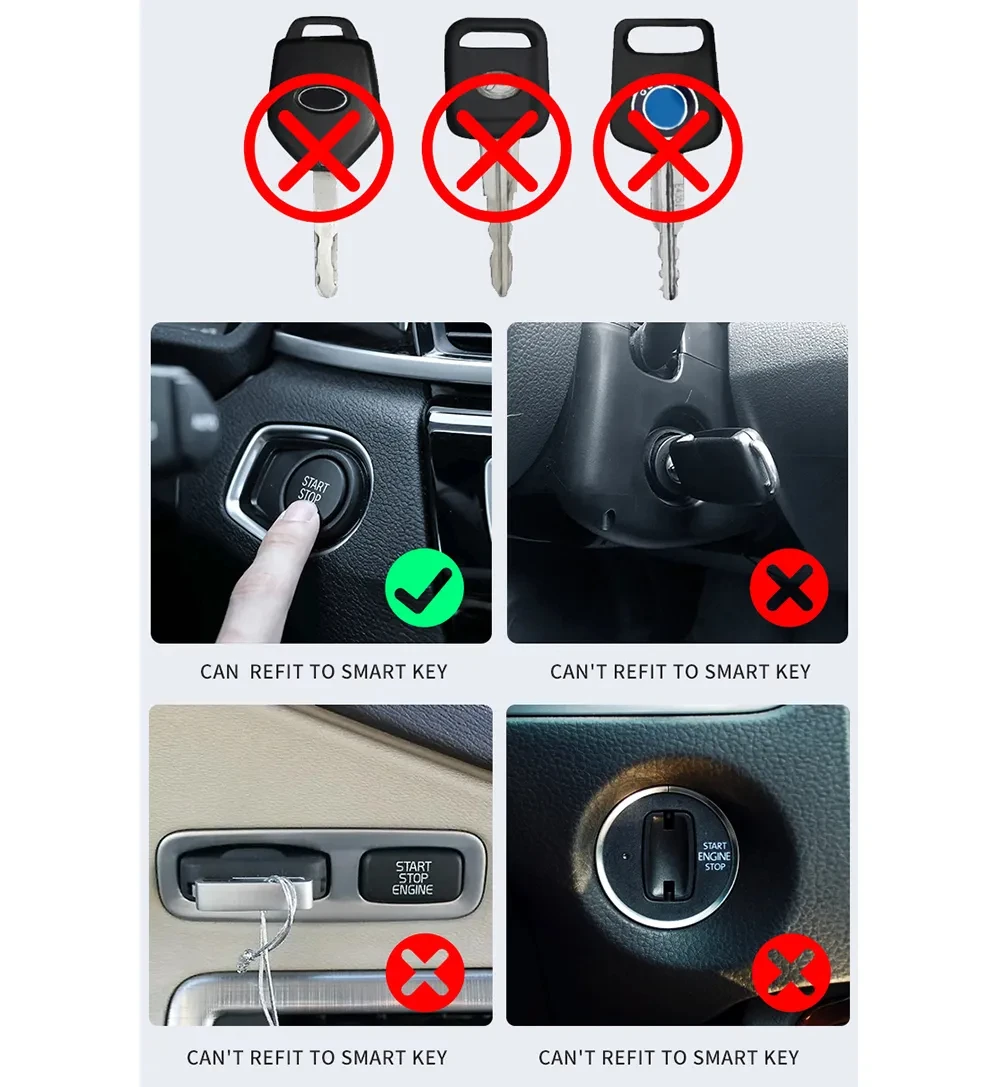
Applicable to all original cars with one-button start function, not applicable to all manual in-line car keys and mechanical keys
Friendly Reminder: Before purchasing, please read the Ordering Guide to avoid returns or exchanges. This guide helps reduce the time spent on returns and exchanges.
Ordering Guide:
A: Can this smart LCD key replace my original car key to control my vehicle?
Three conditions must be met:
1. Your car must have factory-installed push-button start functionality to be compatible with the smart LCD key. This must be factory-installed, not aftermarket.
2. You must disassemble your original key, remove its circuit board, and solder it onto the LCD key's wiring harness. Soldering must be error-free and precise to enable the LCD key to perform the original key's functions.
3. The LCD key solely serves to provide a new appearance. It relies on the functionality of the original key's circuit board. Therefore, before soldering, use the original key's circuit board to lock and unlock the car to verify its functionality. If the original key's circuit board is non-functional, soldering it to the LCD key will not work.
B: How do I solder the original key's circuit board onto the smart LCD key's wiring harness?
1. We strongly advise against DIY soldering. Take it to a professional phone repair shop where technicians can perform the soldering using specialized equipment.
2. Carefully follow the soldering instructions provided in the manual. Ensure correct polarity (positive/negative) connections—reversing them will render the key inoperable. Many users lack soldering experience. Attempting it yourself may cause trembling hands, potentially damaging the original key circuit board during soldering. Therefore, we strongly advise having a professional at a phone repair shop perform the soldering. Do not attempt this yourself.
3. Before removing the circuit board from the original key for soldering, it must be tested. Verify that the circuit board can properly control the car—locking and unlocking it—and that all functions are operational before proceeding with soldering. Many customers bring in non-functional original key circuit boards for soldering. While the smart LCD key replaces the exterior, its functionality depends entirely on the original key's circuit board—the core component controlling the vehicle. If the circuit board is faulty, successful soldering will be useless.
C: Can the smart LCD key activate all functions of the original key's circuit board?
The LCD key has only 3 wiring harnesses, meaning it can activate only 3 functions on the circuit board. Additional functions on the board cannot be activated because they cannot be soldered. You will need to prioritize.
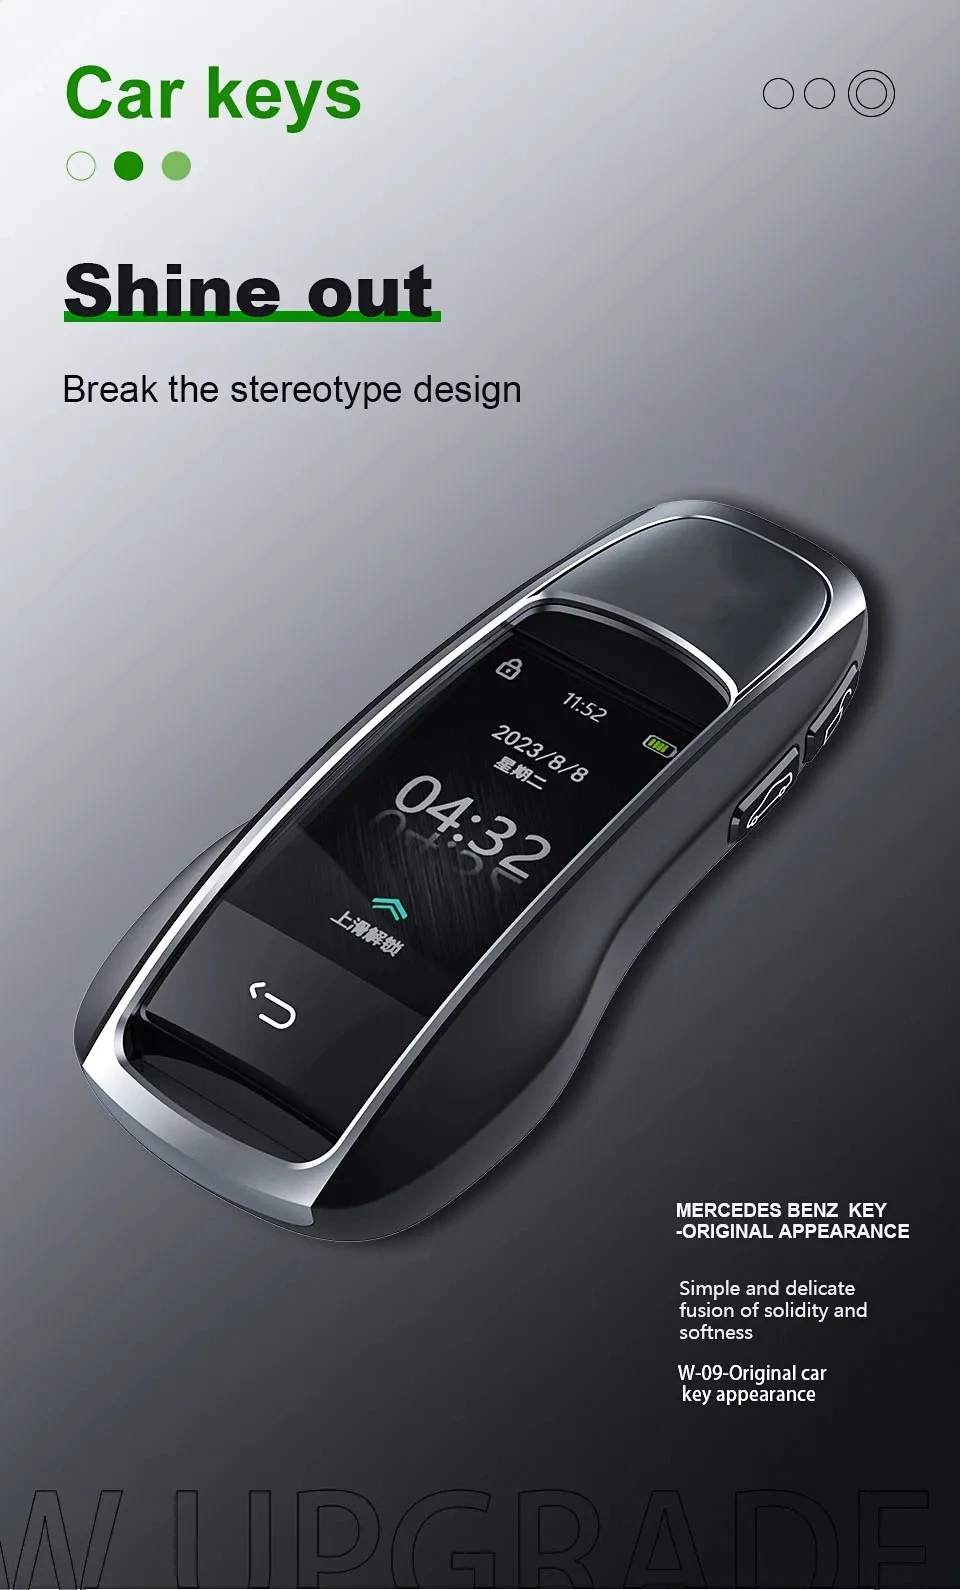
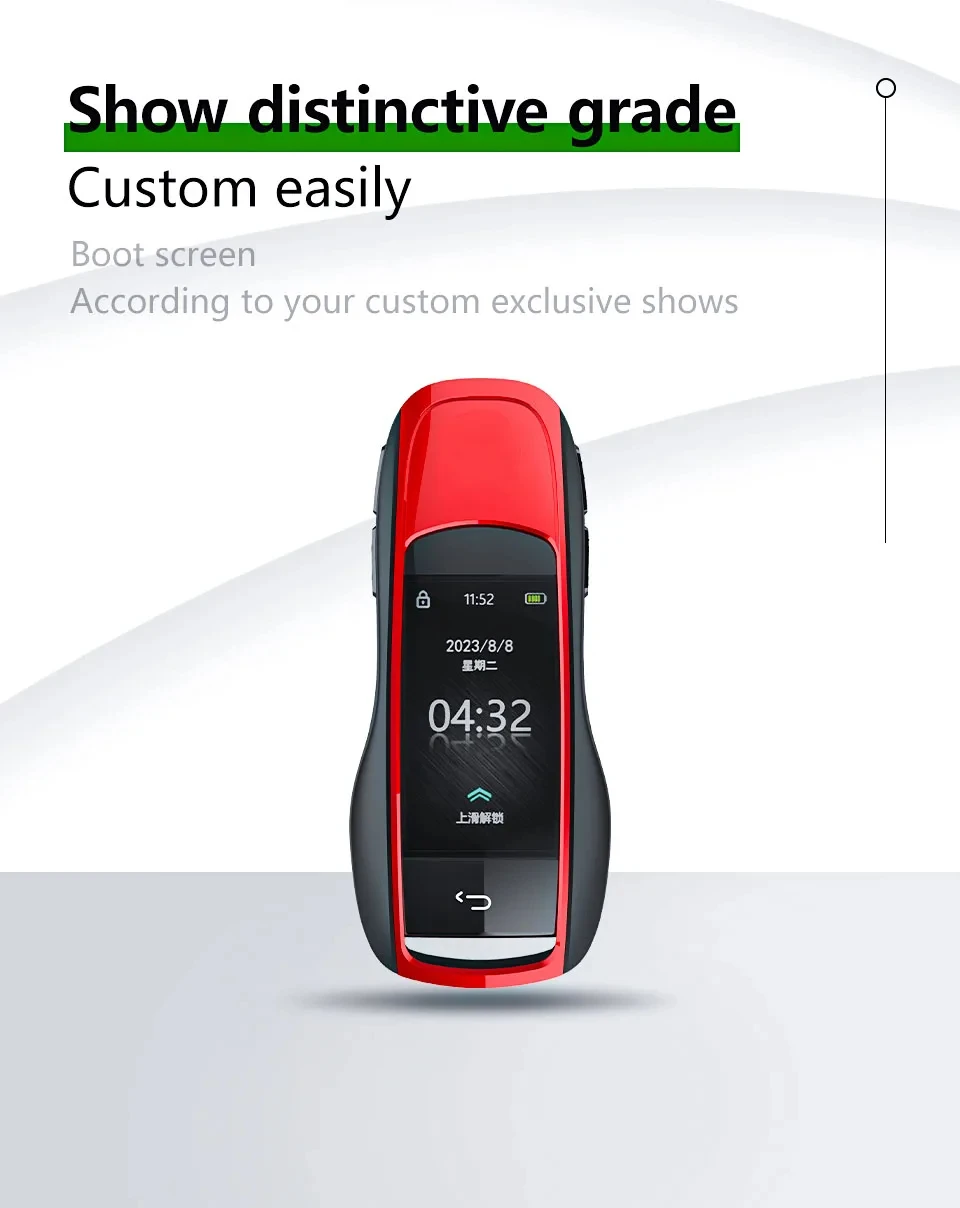
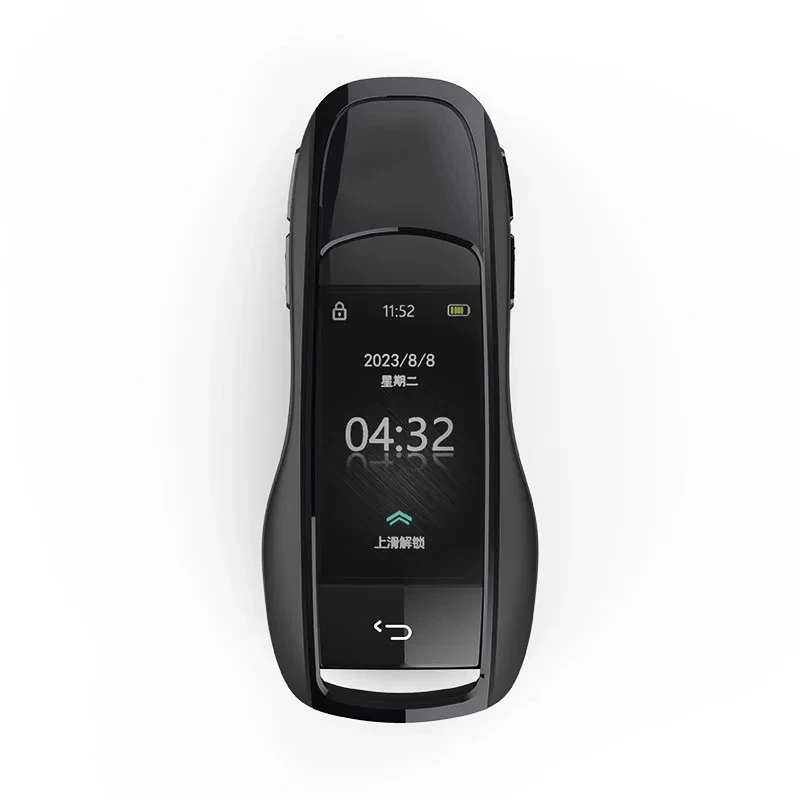
D: Can the smart LCD key change the wallpaper on the screen or customize the car logo?
None of the smart LCD keys have this capability. The screen wallpaper is fixed and cannot be customized, nor can the car logo be altered.
E: My car has push-button start, but my original key lacks this feature. Can the smart LCD key add push-button start functionality to my original key?
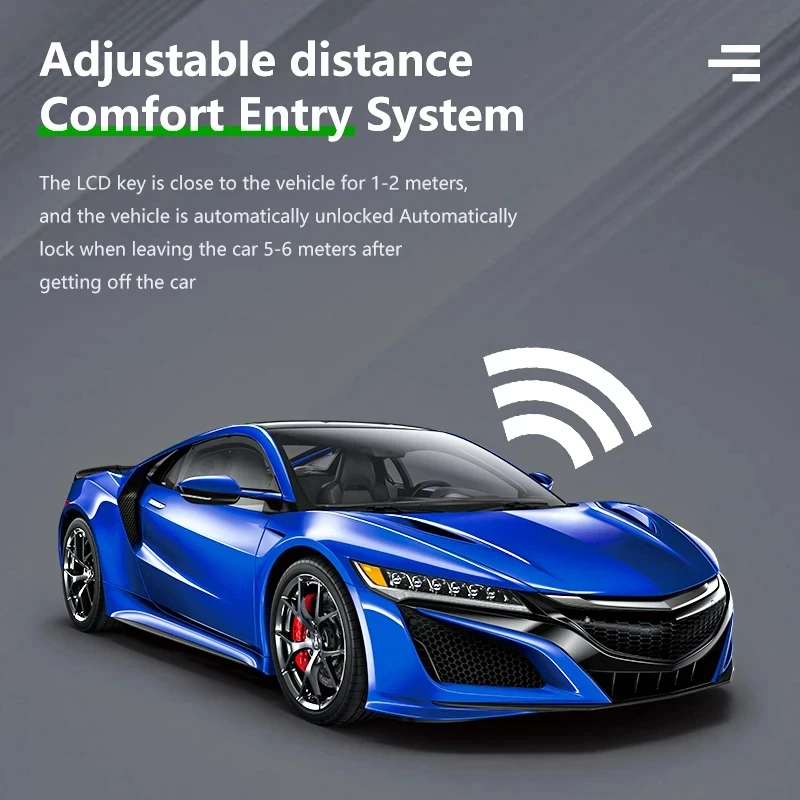
Push-button start is a keyless ignition system. Simply carry your original key inside the vehicle—it will be detected automatically. Press the start button on the car to ignite the engine. Therefore, push-button start is solely a vehicle function—it's a switch within the car. The key itself “does not have push-button start functionality.” Some car brands' keys include remote start capability; pressing the remote start button on the key triggers the vehicle's push-button start switch to activate. You must have a key fob with built-in remote start capability. Our LCD key fob only modifies the appearance; it cannot grant remote start functionality.
F: How do I change the LCD key fob's text to my local language?
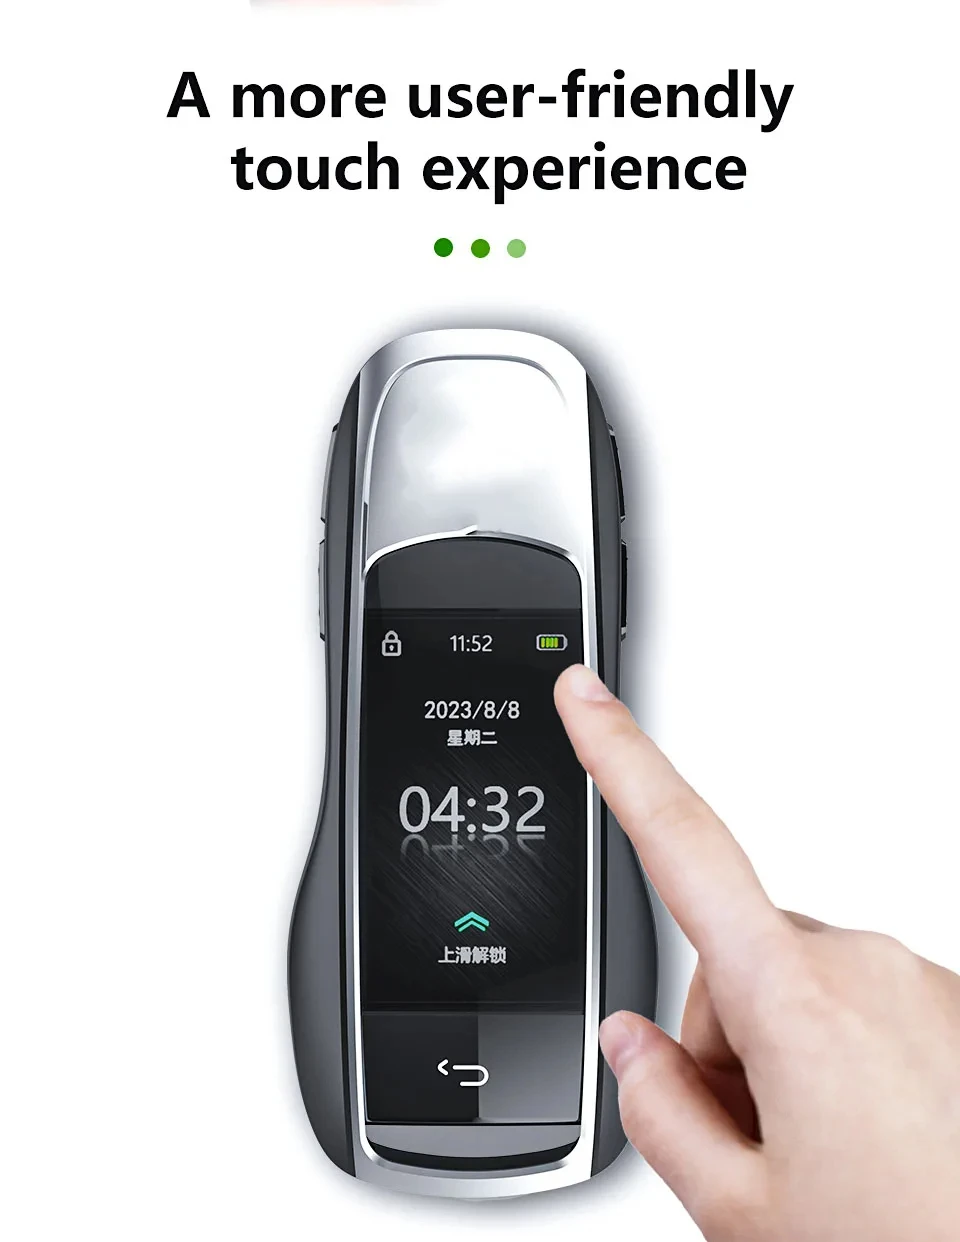
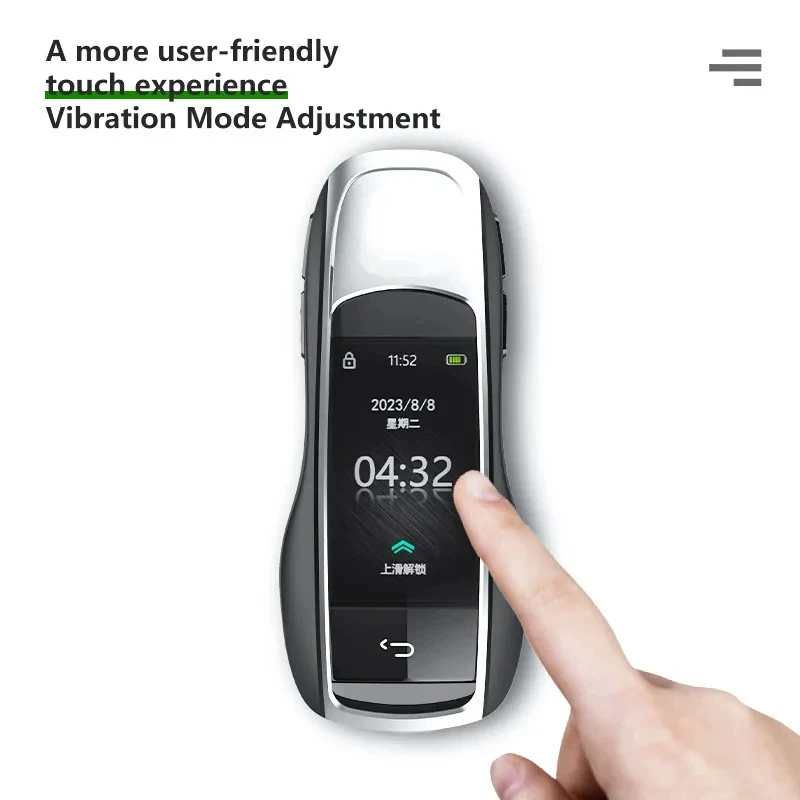
Swipe up to unlock the screen → Swipe right to enter Settings → Find the Language option in Settings → Tap to select your desired language.
G: Product Power-On Issues
Upon first receiving the LCD key, do not attempt to power it on immediately. Charge the LCD key for 24 hours until the battery is fully charged before performing the power-on operation. This ensures the product avoids power-on failures.
H: Charging Cable Restrictions
1. Do not use fast-charging cables. The LCD key employs relatively outdated circuit technology and cannot support fast-charging cables. Using such cables may damage the internal circuit board, rendering the product unusable.
2. Note that the LCD key must only use the original cable provided with the product. Never use other cables to avoid damaging the product.